An attractive press-on sample can still be the wrong product to approve. It may photograph well, sit neatly on a display stand, and survive the trip from a supplier, yet feel unstable once it is fitted to a hand. Some tips bend at the free edge. Some keep the new bend after a small knock. Others crack at the same point on several fingers even though the glue remains intact.
Those outcomes are easy to mislabel as a customer being rough, a glue problem, or a general complaint about "quality." For a brand, that is not enough information to improve the next order. A press-on is a shaped part that has to fit a nail, tolerate ordinary handling, carry its finish, and remain presentable after the customer has opened the pack. Its behavior is influenced by the selected tip family, shape, length, curve, decoration, fit, and the way it is used.
This guide is for brands deciding whether a blank tip family is suitable for a retail press-on set. It does not set a universal thickness or promise that one material will be best for every design. Instead, it shows how to test bending and cracking as part of a practical sample review, before a single product photo or wear-time claim becomes part of the launch.
Start with the right question
"Does this nail bend?" is too broad to guide a purchase decision. Almost every tip will move when force is applied. The useful question is what happens after a modest, repeatable movement and whether that result is acceptable for the length, shape, and customer use case you plan to sell.
There are four different observations worth separating.
- Elastic movement: the free edge moves and returns without an obvious change in outline.
- Permanent warp: the tip remains flatter, more curved, twisted, or visibly off-center after it is released.
- A crack or split: a line appears in the clear tip, color, decoration, or finished surface.
- Fit-driven stress: the sample has to be forced onto the tester's nail before it bends or fails. In this case, the tip may be exposing a curve or width mismatch rather than a stand-alone material defect.
These are not interchangeable. A flexible short tip can be entirely usable if it returns to shape. A stiffer long tip can still be unsuitable if it cracks at the point where a customer naturally catches it. A tip that changes shape only after being pressed tightly over a nail with the wrong curve should not be marked as a clean pass merely because the first photo looked good.
Consumer discussions make the distinction worth taking seriously. People describe tips that bend at the end, crack while staying glued on, or feel painful because the curve has to be forced into place. Those posts establish a real experience, but they do not identify a supplier, formula, or thickness as the cause. Your approval test has to do that narrower work.
Use finished samples, not an empty clear tip alone
A clear blank tip is useful at the beginning of selection. It lets you inspect the mold line, edge finish, curve, and fit without a design distracting from the shape. It is not the only sample a brand should approve.
The finished retail version may behave differently once it has paint, top coat, charms, stones, a raised design, or a different length. Decorative weight and finish layers can change how a set feels in hand, where it catches, and which visual flaws become obvious after a bend. A full sample also reveals whether the chosen box and inner card protect the free edges in transit.
Keep two records for each candidate family. The first is a blank-tip record: supplier name, product link, stated material where provided, shape, stated length, marked size range, and photographs from the top, side, and underside. The second is a finished-sample record that names the exact design, coating process, decoration, package version, and sample date. Do not assume that a painted size 0 and a clear size 0 are mechanically identical unless the supplier confirms they are made from the same tip family and your own comparison supports it.
If a supplier sends a mixed set, label the pieces immediately. Samples are routinely confused once several shapes are on a desk. A small tray marked by supplier, shape, and length is more valuable than a pile of clear tips that can no longer be traced back to the quotation.
A simple bend review that another person can repeat
The purpose of a basic bench review is not to imitate a laboratory standard. It is to compare candidates under the same conditions and decide what should be tested next on real hands.
Choose several pieces from the largest, middle, and smallest marked sizes. Include the longest size you expect a customer to wear, not just the easiest short sample. Inspect each tip before testing. Record scratches, haze, thin-looking edges, distorted sidewalls, visible bubbles in a finished layer, or an uneven free edge before you apply any force. Otherwise, you may attribute a pre-existing flaw to the test.
Hold a tip close to the cuticle end and apply gentle pressure near the free edge with a finger, then release it. Use the same hand position and approximate movement for each comparable sample. Do not fold the tip sharply or attempt to prove that it can be broken. A destructive stunt produces a dramatic photo but little useful buying information.
After release, check four things: whether the outline returns; whether the sidewalls remain symmetrical; whether the surface, finish, or art now has a crack; and whether the free edge has become rough or whitened. Repeat only enough times to see whether a pattern emerges. The key is consistency, not a magic number of repetitions.
Take before-and-after photographs against the same plain background. A side photo is especially useful for a tip that appears normal from above but has taken on a flatter or more arched profile. If several candidates are being compared, place a ruler or a labelled size card in the image. The record should let a colleague understand what was tested months later without relying on memory.
Test the shape where it is most vulnerable
The same blank material can behave differently after it becomes a short square, a long coffin, an almond, or a tapered stiletto. A longer free edge creates more opportunity for a customer to catch the tip. A narrow point concentrates attention on a small area. A shape that looks balanced on a stand may also create leverage when used on a thumb or index finger.
For that reason, do not approve a whole collection from one representative nail. Build a small review set that includes at least the thumb, index, middle, and pinky in the intended design. The thumb and index are often the first places where a user notices catching, while the pinky can reveal whether a small size has a thin or irregular edge. This is an inspection plan, not a claim that every user will fail on the same fingers.
Review the finished set on a hand after the bench comparison. Confirm that the tip can rest in its intended position without forcing the sidewalls downward. If the curve does not suit a tester's natural nail, the stress from fitting can overwhelm whatever you observed at the desk. Record that as a fit result, not as evidence that the tip family is universally weak.
The most useful approval notes are specific: "medium coffin size 2 stayed visually unchanged in the comparison" or "long square size 0 showed a permanent twist after light edge pressure." Vague notes such as "nice and sturdy" cannot be checked against a later production sample.
Do not use thickness as a shortcut for the decision
Brands often ask suppliers for a thicker tip after a customer reports bending. That can be a reasonable subject for a sample request, but it is not a complete specification. A thicker-looking tip may change the profile at the cuticle, the apparent bulk of the set, how easy it is to file, or the fit on different nail curves. It can also leave the original issue unresolved if the real problem is a long shape, a poorly protected package, or a mismatch between the tip and the wearer's nail.
Ask for a physical comparison rather than relying on a phrase such as "stronger," "premium," or "not easy to bend." If the supplier offers multiple mold families or materials, request the exact shapes and lengths you are considering from each family. Then run the same blank-tip and finished-set review. Do not infer one candidate's behavior from an unrelated product photo or from a review of a different length.
Positioning matters. A brand selling short, quick-change sets may accept a more flexible feel, while a brand selling longer statement shapes may give clean edge recovery and package protection more weight. Neither decision should become an unsupported durability promise.
Product and sourcing options
The following links are provided retail and sourcing references for comparing blank-tip candidates and beginning a supplier conversation. We may earn a commission from qualifying purchases through these links. They are not performance guarantees, and the Alibaba listing should be rechecked for current specifications, minimum order requirements, sample availability, and CPS eligibility before any order is placed.
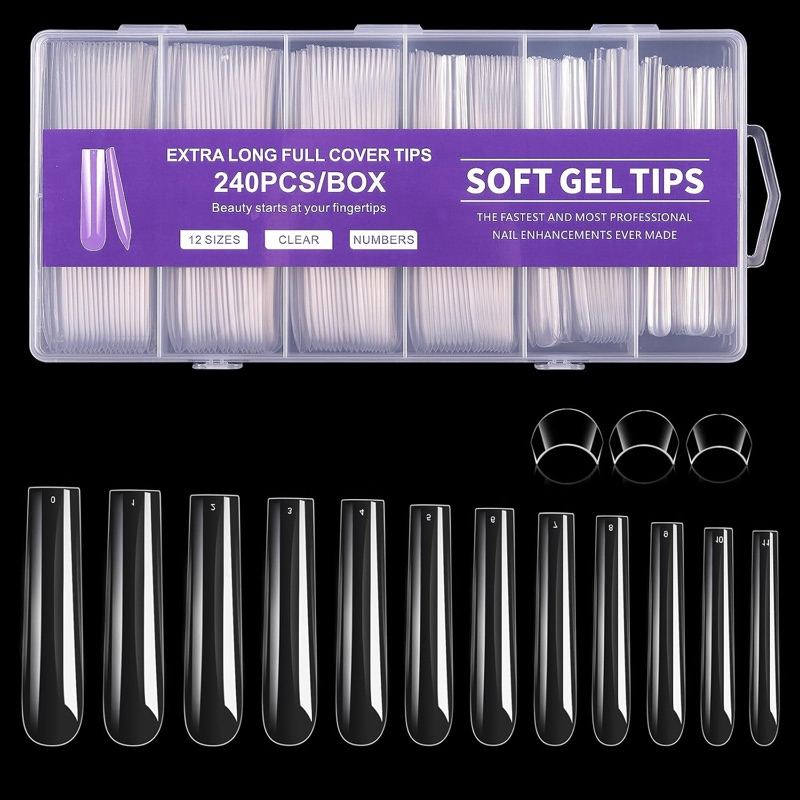
Long square nail tips, soft gel, pre-etched, 240 pc
A 240-piece long square full-cover soft gel tip set, pre-etched. A candidate for the bend review above at a longer length, where catching and permanent warp are easiest to expose.
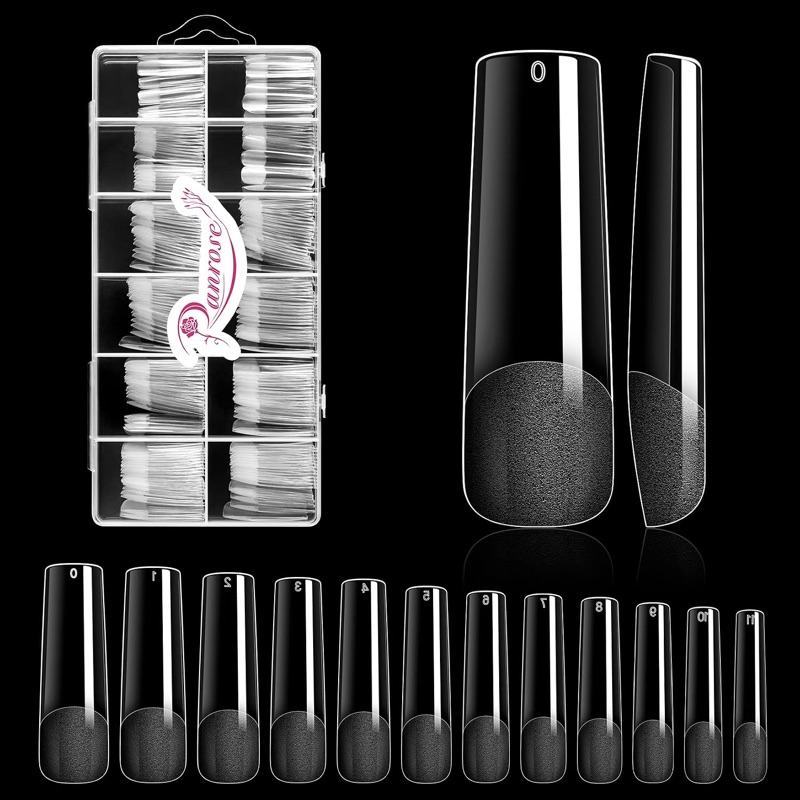
Long square soft gel nail tips, 12 sizes, XXL
A 240-piece long square soft gel tip set across 12 sizes. Included as a second long-square blank for comparing edge recovery and surface cracking under the same gentle test.
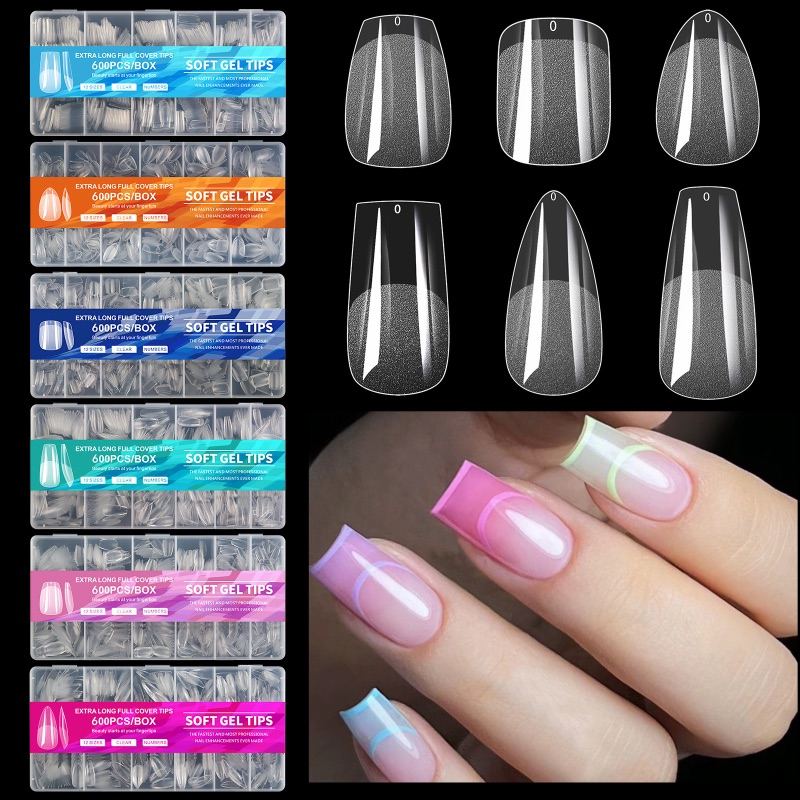
Soft gel full-cover nail tips, 600 pcs per box
A wholesale 600-piece-per-box soft gel full-cover tip listing spanning extra-short almond through square and medium shapes. A sourcing route for requesting the exact tip family, shape and material before testing.
Card photos are the current marketplace listing images and may differ from the delivered product; confirm details on the live listing.
Turn the sample review into a supplier brief
When you ask for the next sample, describe the failure you observed rather than prescribing a hidden manufacturing solution. The supplier needs to see the context, and your brand needs a written record of what changed.
For each candidate, request or confirm the following where the supplier can provide it:
- the exact tip family, shape, stated length, and marked sizes included in the sample;
- whether the production proposal uses the same family as the reviewed sample;
- the stated material and any finish or surface treatment relevant to the selected tip;
- inside, side, and top photographs of representative large and small sizes;
- a completed sample in the intended color and decoration, not only a clear blank;
- the intended retail package and how long free edges are secured inside it; and
- any supplier-held specification or tolerance information that can be attached to the order discussion.
Avoid asking a supplier to guarantee a vague outcome such as "no bending." Instead, attach your photographs and state what needs to be compared. For example: "Please provide a revised medium coffin sample in the proposed production tip family. We will compare edge recovery, visible warping, surface cracking, and fit on our current test panel." This preserves room for a supplier to explain its available options without allowing the project to drift into untraceable claims.
Decide what counts as a pass before you place a bulk order
Your approval rule should fit the product. It can be a short list rather than a complicated scorecard. A practical rule may include: the candidate identifies clearly; the selected sizes sit without force on the test panel; the finished sample has no visible cracking or lasting distortion under the same gentle comparison used for other candidates; its free edges are clean after packing and unpacking; and the sample is traceable to the production proposal.
Set aside any candidate that passes only after extensive reshaping, heat adjustment, or concealment under heavy decoration. Those changes may be useful for exploring a design, but they make it difficult to know what the customer will receive. If a sample fails, do not jump automatically to a stronger adhesive or a thicker tip. Compare the failure location, the curve, the length, and the package before deciding what to change.
The next incoming sample should be reviewed against the saved approval sample, not against an old memory of it. Place the two pieces side by side. Compare the marked size, silhouette, sidewall line, free-edge finish, surface decoration, and package fit. This turns a complaint about a bend or crack into a repeatable product-development question.
Build feedback that helps the next reorder
Once a set is live, do not group every issue under "broken nail." Add support tags such as "bent free edge," "permanent warp," "crack in surface," "crack through tip," "arrived damaged," and "curve or fit pressure." Ask for the shape, stated length, selected size, finger affected, approximate time after application, and a photo when that is appropriate for your support process.
Patterns matter more than isolated anecdotes. Repeated reports from the same shape, length, and size are more actionable than a general complaint that a collection feels flimsy. Intact tips arriving loose in the box may point to packaging before a tip-family change. Preserve enough detail to improve the next sample request and reorder decision.