A press-on can be the advertised length and still look wrong on the hand. The usual reason is not that the visible extension is too short. It is that the tip does not cover enough of the customer's natural nail plate from the cuticle line to the free edge. When a long natural nail remains visible beneath a short or shallow press-on, the set can look undersized, show a distracting edge, or leave too little clean surface for adhesive.
For a brand, that is a product-development problem, not a customer-prep problem to hide in the instructions. A size chart records width. A length label usually describes how far the tip projects beyond the finger. Neither one tells you whether the inside of the chosen blank tip is long enough to cover the nail plate of the people you want to serve.
This guide separates those two measurements and sets out a practical way to sample them. It is intended for makers and small brands approving blank tips, ready-made sets, or a new shape. It does not claim that one tip length fits every nail bed. The aim is to identify an avoidable coverage failure before it reaches a retail order.
The two lengths that get confused
When shoppers say a press-on is too short, they may mean one of two different things. The first is visible extension: the distance from the natural free edge to the end of the artificial nail after application. This is the length that produces a short, medium, or long look.
The second is base coverage length. It is the usable inside length of the press-on from its cuticle-side edge to the point where the customer's natural free edge would sit. That dimension is rarely stated on a retail listing, yet it determines whether the tip can sit over the whole nail plate without leaving a strip of natural nail exposed underneath.
Those measurements move independently. Two almond tips can have a similar visible length while one has a deeper base and the other begins tapering sooner. A very short square may cover a substantial nail plate because its base runs far forward. A medium almond may look longer from the outside but provide less usable coverage before the narrow part of the shape begins.
For this article, use three plain terms in your specification sheet:
- Nail-plate length: cuticle line to the natural free edge on a bare nail.
- Tip base length: the inside distance from the cuticle end of the press-on to its front edge before the visible extension is considered.
- Visible extension: the portion of the press-on that continues beyond the customer's natural free edge once fitted.
Why a set can look too short even when its label is accurate
A length label is normally a style description, not a coverage promise. If a customer has a long nail plate or wears a small amount of natural free edge, the press-on has to cover more distance before any visible extension begins. A shape designed around a shorter nail plate may therefore look abruptly short on that hand even if it is correctly sold as medium.
This is most obvious with opaque colors, French designs, and sheer bases. An opaque tip can leave a crescent of natural nail visible under the front edge. With a French design, the line between the design and the exposed natural nail can make the mismatch more noticeable. A sheer base may make the boundary less stark, but it does not solve the underlying fit issue. It simply changes how easy it is to see.
Natural nail length can add to the confusion. Consumer application guides commonly advise trimming the natural free edge so it does not show beneath the press-on. That is sensible wear guidance. It is not a substitute for a tip whose base is too short for the intended customer group. If your sample only works after a substantial trim, record that result rather than treating it as a pass.
There is also a commercial consequence. A shopper who sees their natural nail peeking out may assume they chose the wrong size, even when the side-to-side width is correct. They may file the tip shorter, select a larger width, or abandon the set. None of those actions addresses a lack of front-to-back coverage.
Do not treat a width size chart as a complete fit system
Most press-on sizing systems are built from width. That is appropriate for choosing a piece that reaches sidewall to sidewall without pressing hard or leaving a visible side gap. It is incomplete for shape development.
Coverage length is not a new universal size number to add beside every width. Nail plates vary within the same width group, and a single set cannot be expected to cover every variation. The useful brand question is narrower: does this selected shape and length offer credible coverage across the customer profiles we are deliberately designing for?
Start by deciding which profile you are testing. It could be a customer with a short natural nail, one with a longer plate, or one who normally keeps a small free edge. Do not call a profile "standard" unless you have your own measurement record to support that choice. For an early collection, a modest panel of real try-ons is more useful than a confident assumption made from a product photo.
Keep width, sidewall fit, C-curve, and coverage in separate columns. A tip can pass one and fail another. That separation prevents a common sampling mistake: changing width to cure a forward-length problem. Going up a width may make the tip sit flatter, but it can also create side overhang. The right corrective action may instead be a different blank-tip family, a longer base, or a different shape at the same retail length.
A simple coverage test for an approval sample
You do not need a laboratory to find an obvious mismatch. You do need a repeatable set-up and honest notes. Test bare, clean nails after the same normal preparation you expect a customer to use. If the test is for a reusable retail set, temporary adhesive tabs are often enough to check position before committing to glue.
For each test finger, record the chosen tip number, natural nail-plate length, and the intended retail shape and length. Place the tip at the cuticle line without forcing it down. Look from directly above, from each side, and from the front edge. Photograph the hand in the same orientation each time. A close-up of only the tip can hide the relationship between the press-on and the natural nail.
Then check four things:
- Does the press-on reach past the natural free edge with the planned amount of visible extension?
- Is natural nail visible beneath the front edge when the hand is viewed normally?
- Does the cuticle end sit where it should without pushing the tip too far forward?
- Does the tip still feel relaxed across the sidewalls, rather than being held in place by pressure?
The sequence matters. Do not slide the press-on forward to hide an exposed free edge and then mark the coverage as acceptable. The cuticle fit has changed, and the test no longer reflects the finished product. Similarly, do not judge only one middle finger. Long plates and remaining free edge often show up differently on thumbs, index fingers, and pinkies.
Build a sample record that can survive a supplier conversation
Photographs alone are not enough once you are comparing offers. A supplier may send a revised sample that looks similar in a flat lay but has a different inner length, taper start, or cuticle profile. The record should make it possible to explain what changed.
Use one line per tested finger. Include the supplier or blank-tip family, tip number, stated shape, stated length, width at the cuticle and widest point, inside base length, natural nail-plate length, remaining natural free edge, and your coverage result. Add a photo file name rather than pasting dozens of images into a spreadsheet.
The useful outcome is not a single "pass" or "fail." Note the condition. For example: "passes with natural free edge filed flush," "front edge visible on longer nail plate," or "coverage acceptable but sidewall pressure on thumb." These notes tell you whether you are looking at an instruction issue, a size-range issue, or a product-design issue.
If you sell several shapes, repeat the test by shape. The same outer length label does not guarantee the same base length. Almond, coffin, oval, and square styles carry their usable surface differently. That is especially important when one collection uses an opaque color and another uses French art or a translucent base, because customers will notice the same coverage fault differently.
Retail options
These Amazon links are retail references for comparing tip geometry and building a small at-home try-on set. They are not a promise that either product will suit every nail plate, and a brand should still measure the exact tips it intends to approve.
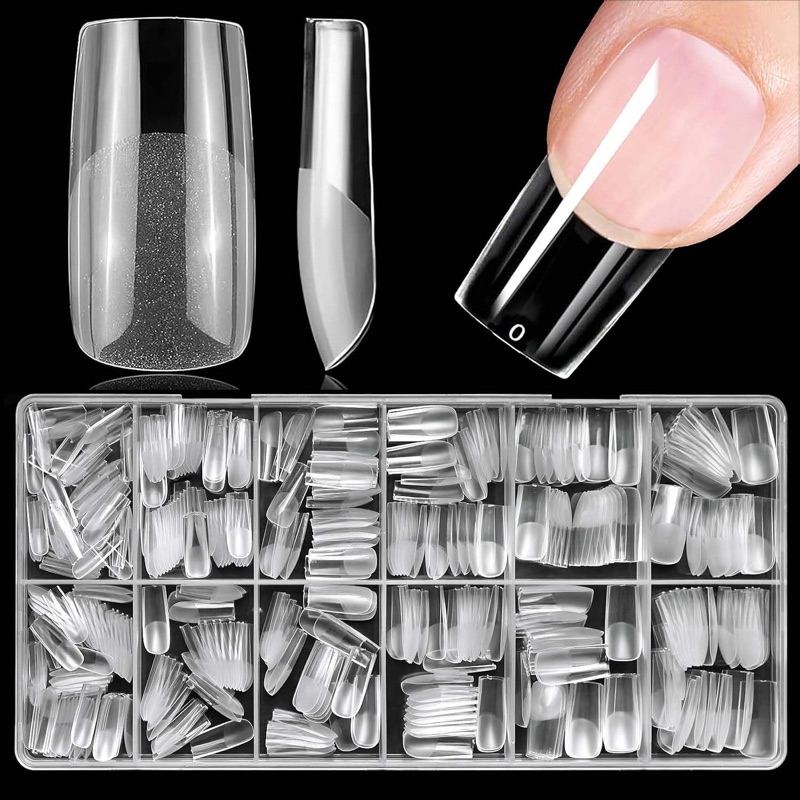
Medium square nail tips, clear full-cover, 360 pc, 15 sizes
A 360-piece clear full-cover square tip set in 15 sizes. Use it to measure inside base length against a longer nail plate and see whether the tip reaches past the natural free edge.
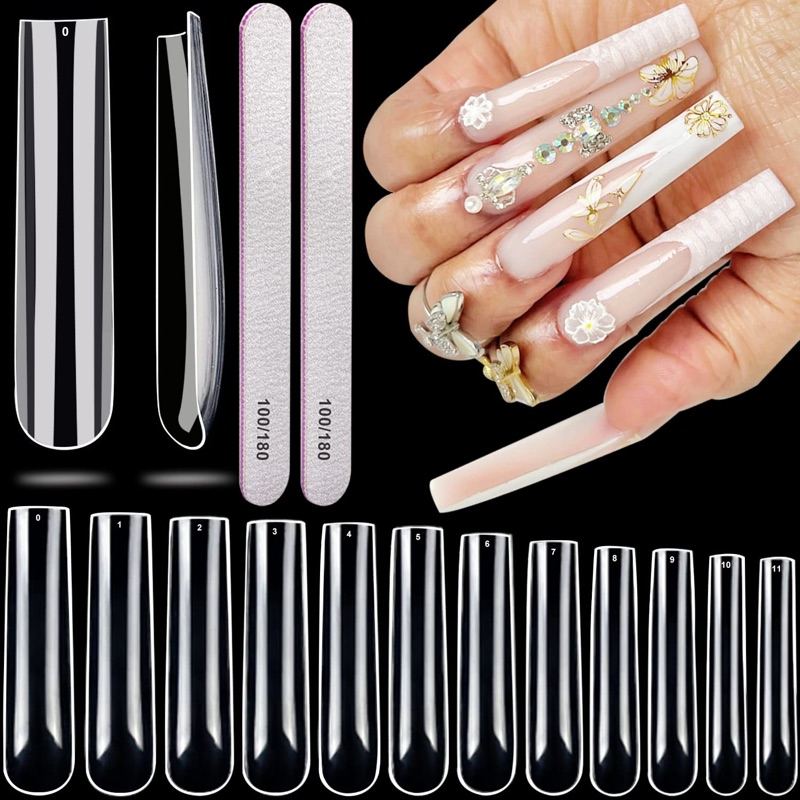
Extra-long square nail tips, 3XL, 504 pc
A 504-piece extra-long full-cover square tip set in 3XL sizes. Useful as the longer-base comparison when a standard medium length leaves a strip of natural nail exposed on a longer plate.
Choose the correction that matches the failure
Once the record shows a coverage problem, resist the urge to solve every case by making the retail tip longer. More visible extension changes the product's style, price point, packaging needs, and day-to-day usability. It may still leave the base geometry unchanged.
If the cuticle and sidewalls fit but the natural free edge remains visible, ask whether a blank tip with a longer base is available in the same general shape. If the option does not exist, a collection may need a different shape-length pairing rather than a different width range. A shorter square or squoval may provide a more usable base for the intended customer than a tapered medium almond, even if the latter is more fashionable in a product photo.
If coverage is acceptable only after customers cut their natural nails very short, make a clear decision. You can position that preparation as part of the wearing instructions, but you should not imply that the set accommodates a longer free edge. For a brand built around easy fit, it may be better to offer another option or revise the target customer claim.
If the issue appears only on a few fingers, do not quietly add a new size number without testing the full effect on the set. A new tip can change inventory balance, pack-out, refill planning, and the sizing-kit experience. It may be more useful to offer a larger selection of shapes or to make your made-to-order process capture nail-plate length as a fit note alongside widths.
Questions to put in the RFQ and sample request
Supplier terminology varies, so write the question around the physical part you need rather than assuming that "medium" or "full cover" means the same thing from one source to another. Ask for the actual sample first; use the answers to decide what should be measured on arrival.
For the selected tip family, request:
- A photo of the inside of representative thumb, index, middle, ring, and pinky tips beside a ruler or caliper.
- The number of sizes supplied and the method used to identify each size.
- The dimensions for at least the cuticle width, widest width, and inside length of each relevant sample tip.
- Confirmation of whether the same stated length uses the same base geometry across shapes.
- A sample pack from the exact mold or production version proposed for the order.
Treat every response as supplier-specific information, not a category rule. The point is to make discrepancies visible before an order is approved. If the response is vague, the physical sample and your measurement record become even more important.
What this means for the retail product and its instructions
The customer-facing message should be plain. A sizing kit or product page can tell buyers to select a width that covers the nail from side to side and to prepare the natural free edge so it does not protrude beneath the press-on. It should not promise that every nail-bed length will look identical in every shape.
Behind that simple language, the brand needs a more disciplined system. Keep the approved blank-tip sample, its measurement sheet, the try-on images, and the final production reference together. When a customer reports that a particular shape looks short despite correct width, tag the complaint separately from "wrong size." After several reports, you may have evidence of a coverage pattern worth retesting.
That feedback loop is where a small brand can improve faster than a generic set. The customer sees an awkward exposed edge. The product team turns that observation into a question about base length, natural free edge, shape geometry, and the approved sample. The next collection then has a better chance of solving the real problem rather than merely adding another length label.
The approval decision
Before approving a press-on nail tip, ask one final question: does this tip produce the promised visible length only after it has covered a realistic natural nail plate? If the answer is uncertain, the sample is not finished.
Width remains essential. So do C-curve, cuticle profile, sidewalls, material, art placement, and packaging. But front-to-back coverage belongs on the same approval sheet. It is the measurement that explains why a tip can be the right width, the advertised length, and still look too short once a customer wears it.