A brush helps with control, but it cannot correct a poor fit. Brush-on nail glue is often recommended to people who find the small squeeze tubes messy. A brush lets you spread adhesive across a surface instead of squeezing a bead from a narrow nozzle. That can make it easier to see where the product is going. It does not automatically mean less glue, a stronger bond, or a cleaner manicure. If a press-on is too wide, too curved for the nail, or being pressed down at the wrong angle, adhesive can still escape at the sides.
Consumer questions repeatedly describe the same dilemma: use enough glue to avoid gaps and premature lifting, but not so much that it squeezes onto the skin or leaves a ridge near the cuticle. One user said a thin coat of brush-on glue still emerged from the sides; another asked how to transfer a press-on after applying glue without sticking it to the fingers. Those posts are useful evidence of the task, not controlled tests of any formula. The practical answer begins with fit and placement, then considers the applicator. This guide explains how to assess both, what to compare when buying brush-on glue, and when to stop rather than adding more adhesive.
Fit the press-on before opening the bottle
Choose each artificial nail before applying glue. The press-on should cover the natural nail from sidewall to sidewall without resting on the surrounding skin. If it is too narrow, a gap can remain along an edge; if it is too wide, it can overlap the skin and push glue into the cuticle area. Retailer application guidance recommends matching the sizes first and filing the sides of a slightly larger nail when needed. Check that the press-on's curve also rests comfortably over the natural nail rather than rocking at the centre or leaving large side gaps.
Do a dry placement on every finger and arrange the nails in order. This removes one source of delay after glue is open: you will not be searching for the right size while the brush is loaded. If a press-on visibly rocks, bridges over the nail, or only makes contact at the centre, do not try to fill the mismatch with a thick layer. A different size or a better-curved tip is the more useful fix. The amount and placement of adhesive should follow the product's instructions; extra glue is not a reliable way to reshape a badly fitting artificial nail.
What the brush changes and what it does not
A brush applicator gives you a broad contact surface for painting glue in strokes. For many users, this is easier to meter than a small tube that releases adhesive when squeezed. That is a format advantage, not proof that all brush-on glues are thinner, slower, safer, or stronger. Formula viscosity, brush width, cap design, drying time, and bottle opening vary by product. Retailers and brands sometimes use words such as "precision" or "mess-free," but those are product claims. Read the ingredient list and directions on the exact bottle rather than assuming every brush-on product behaves the same way.
The brush also cannot tell you how much adhesive the artificial nail needs. Product instructions differ: some direct users to apply glue to both surfaces, some specify a small amount on one surface, and hold times vary. KISS, for example, directs users of its VitaBond brush-on glue to apply glue to the artificial and natural nails and hold the press-on at an angle for 20 seconds. Retail application guidance gives a broader 15–30-second hold range and warns that too much glue can cause overflow and air bubbles. Use the directions supplied with the glue and press-on brand you are actually using. Do not combine one brand's amount, another brand's timing, and a third brand's removal method as if they were universal instructions.
Apply an even layer without painting onto skin
Prepare one hand at a time. Wash and dry your hands, remove old polish or residue, and follow the glue maker's preparation instructions. Avoid cutting live cuticle tissue. If a brand recommends lightly buffing, use a gentle touch and do not turn surface removal into a contest; repeated or aggressive filing can thin the natural nail. Make sure the press-on sizes are already arranged, the cap can be closed promptly, and the work area is ventilated. The FDA advises consumers to read nail-product labels, follow warnings, and use nail products with good ventilation.
Hold the artificial nail by its side edges. Use the brush to distribute a controlled coat over the bonding area specified on the label. Keep the brush within the nail plate and leave a small margin from the skin rather than tracing glue right up to the cuticle. If the instructions call for glue on both surfaces, use a light coat on each; if they specify one surface, follow that direction. The object is continuous coverage where the two nail surfaces meet, not a visibly thick pool. Wipe excess from the brush against the inside neck of the bottle only if the manufacturer's packaging allows it; avoid dragging a wet brush against skin or the outside of the container.
Align the press-on at the position shown in its instructions. Several brand guides recommend starting near the cuticle at an angle and lowering the tip gradually, which can help the user keep the nail aligned. Press with steady, controlled pressure for the label's stated time. Pressing harder is not a substitute for fit, and quickly shifting the press-on after it touches glue may spread adhesive past the sidewalls. Hold it in place without rocking it. If it is visibly crooked, do not force it across tacky glue; follow the maker's correction or removal directions.
If glue seeps out, protect the skin instead of fixing the look
Stop if adhesive reaches the skin. Do not keep pressing and assume the glue will disappear when it dries. Follow the product label, and do not peel bonded skin apart. Poison-control information describes eye exposure as requiring urgent care. The FDA also notes that nail products can cause irritation or allergic reactions in some users. Avoid deliberately touching or testing nail glue on skin, and keep it away from eyes, mouth, and children. If glue contacts an eye or causes a concerning reaction, use the product label and seek appropriate medical or poison-control advice rather than experimenting with solvents.
A small amount on the skin is not a cue to add acetone while the nail is still being held in place. That can spread the adhesive, affect the artificial nail's finish, or expose surrounding skin to another product. Do not use teeth, sharp tools, or force to separate bonded surfaces. For ordinary overflow on the nail's outer surface, wait until the product is handled according to its instructions, then use only a removal method the nail and glue makers permit. Prevention is easier: confirm the size, keep adhesive away from the perimeter, and reduce the amount on the brush before moving to the next nail.
Choose a glue by the job, not the applicator label
Before buying, decide how you use press-ons. If you apply nails often and want to paint adhesive across a bonding area, a brush bottle may suit the task. If you need a tiny drop for a repair or a narrow spot, a precision nozzle may be easier to direct. Adhesive tabs are a different choice for temporary wear or easier removal; they are not liquid nail glue and should not be judged by glue-set instructions. Semi-solid or gel-like products may have different application and curing requirements. Do not use a product that calls for a UV or LED lamp as if it were ordinary air-drying brush-on glue.
Read the product label for intended use, ingredients, directions, warnings, net quantity, and removal instructions. Look for a brush that reaches the bottle bottom without bending awkwardly and a cap that closes without trapping glue around the neck. A wider brush may cover a large nail quickly but may be harder to control on a small nail; a narrow brush may take more strokes. These are observable design differences, not a guarantee of application performance. When a listing omits ingredients, manufacturer details, or legible directions, ask the seller before purchase. "Non-toxic," "hypoallergenic," "sensitive," and "skin-safe" should not replace reading the label or checking whether the product is actually intended for artificial nail application. The FDA cautions that it does not define "hypoallergenic" for cosmetics and that the term does not guarantee a product will not cause an allergic reaction.
Retail and sourcing references
The three links below cover the brush-on and drop-on consumer formats plus one bulk listing. We may earn a commission from qualifying purchases through these links; a clickable affiliate link does not prove that a listing still shows the same item.
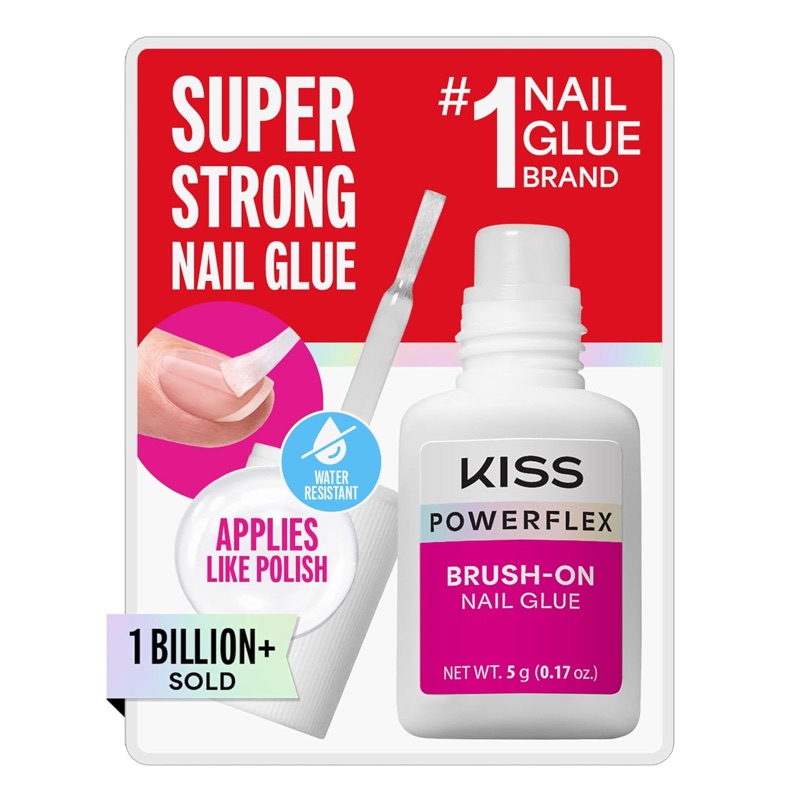
Brush-on nail glue for press-on sets
A brush-on bottle for painting adhesive across the bonding area, which is the format this guide's application steps assume. Check the brush width against the nails you use — a wide brush covers a large nail quickly and can be harder to control on a small one.
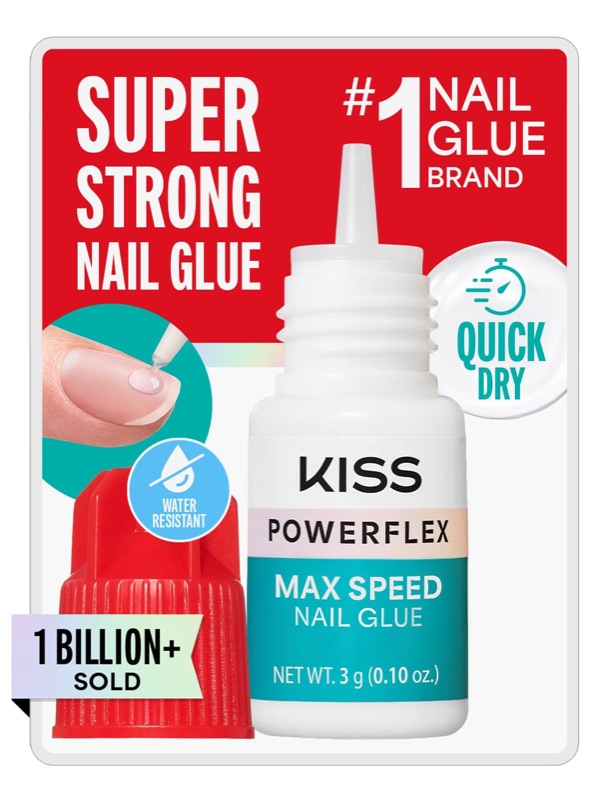
Fast-drying drop-on nail glue for press-ons
The same brand family in a fast-drying drop-on format, for when a precise drop suits a repair better than a painted layer. Its directions and hold time are not interchangeable with the brush-on bottle, so follow the label for whichever you buy.
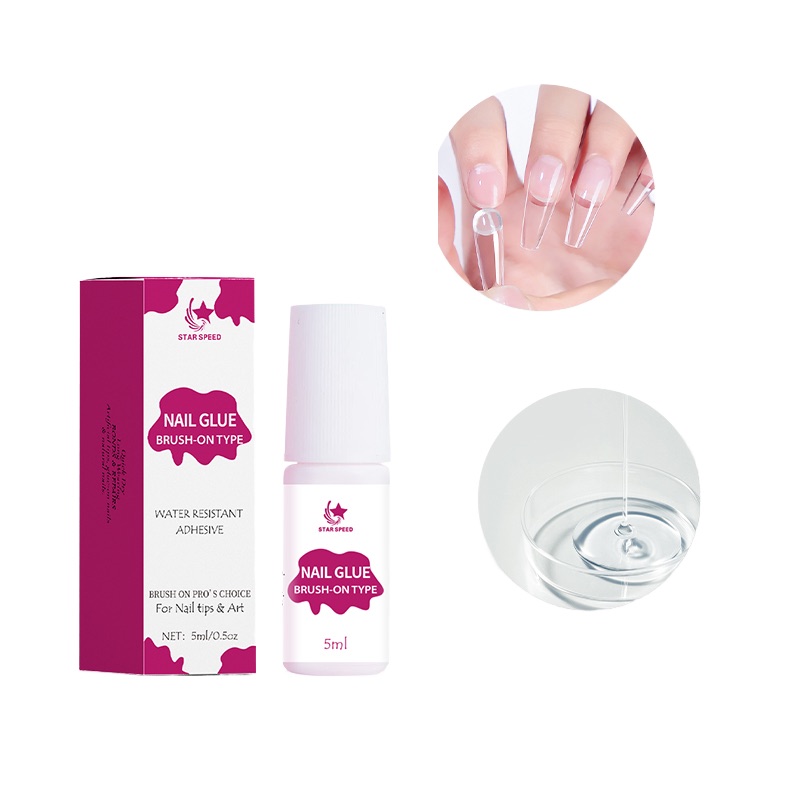
Brush-on nail glue, 5 g, wholesale
A bulk brush-on listing for brands buying glue by the carton. Use it as a sample inquiry: confirm that the brush, cap, bottle and formula are supplied as a matched package, and ask for the label and directions for your market before quoting it into a kit.
Card photos are the current marketplace listing images and may differ from the delivered product; confirm details on the live listing.
Questions for brands and suppliers buying brush-on glue
For a small press-on brand assembling kits, the consumer's overflow problem becomes a packaging and consistency question. Request the complete ingredient declaration and the current label, including directions and warnings for the market where the product will be sold. Confirm whether the brush, cap, bottle, and formula are supplied as a matched package, and whether the listed net quantity applies to the filled bottle or another measure. Ask for the product's shelf-life and storage basis, batch identification method, and documents that substantiate any performance or safety claim you intend to print. Do not infer compliance from a marketplace badge or a supplier's sales response.
Order a sample before agreeing to a production run. Apply the same glue to several press-on shapes and sizes, using the intended consumer instructions. Record whether the brush loads evenly, whether the cap closes cleanly, whether adhesive remains around the neck, and whether directions are legible on the final package. Keep the trial conditions consistent and describe the result as your own sample check, not as an industry test. For a repeatable kit, define a fill quantity, bottle style, brush dimensions or reference sample, label revision, and incoming inspection checklist in writing. A supplier should confirm what can be held constant across batches and what tolerances it can actually meet; do not assume private labelling or custom brush options are available until the supplier confirms them.
If purchasing through a wholesale marketplace, compare the product identity on the offer page with the exact sample and label. A generic "nail glue" title is not enough to establish formula, package size, or suitability for a kit. Keep product and affiliate-link status separate: a clickable link does not prove that the listing still shows the same item, and a product ID alone does not verify its current destination or terms.
Care for the bottle and remove the press-on patiently
Keep the cap clean and closed as directed. Glue around the bottle neck can make the next application difficult, and leaving the container open exposes the formula to the air and room conditions described by its maker. Do not use a bottle whose label is missing or whose contents have changed in appearance or smell. Store it away from heat, flame, and children, following the package warnings. The FDA notes that some nail products can catch fire when exposed to heat sources and that good ventilation matters during use.
Removal is a separate task from application. Do not pull, pry, or bite off a bonded press-on. KISS's removal guidance advises filing the artificial nail surface, using its specified remover or soaking in acetone until the nail softens, then gently lifting with a manicure stick; its directions also say not to force or pull. Other brands may give different instructions, so follow the specific product label and press-on guidance. If a nail does not release, stop and continue only as the manufacturer directs. Pain, swelling, redness, or a persistent reaction is a reason to stop using the product and seek appropriate health advice.
A simple decision rule
Choose brush-on glue when the brush format matches the size of the bonding area and you can follow that product's directions without flooding the edges. Choose a nozzle or another adhesive format when it gives you better control for your task. Before blaming the glue, check three things: the press-on fits without sitting on skin, the bottle's instructions match the adhesive you bought, and the placement method keeps glue inside the bonding area. Then review the warning and removal directions before applying anything.
For a small brand, the same principle applies at purchasing scale: specify the bottle, brush, formula identity, labelling, and sample-acceptance checks rather than buying on a "strong" or "mess-free" claim alone. Brush-on glue is a useful format, not a shortcut around product fit, application technique, or clear instructions. With the right fit and a controlled layer, the brush can make application easier to manage; it cannot turn an uncertain product into a safe or reliable one.