The best press-on nail application kit is not the one with the longest list of items. It is the one that matches how the wearer intends to use the set. A person who wants polished nails for a dinner, photos, or a short trip has a different job from someone who wants to keep the same set on through a normal work week. A customer who hopes to reuse a hand-painted set is making a different trade-off again.
That is why “include glue” is not a complete product decision for a press-on nail brand. Liquid glue, adhesive tabs, prep tools, and removal guidance work together as a system. When the system does not match the promised use, the review often sounds familiar: the nails pop off, the tab feels bulky, glue spills onto the skin, removal takes too long, or the customer cannot use the set again.
This guide helps consumers choose an application method and helps small brands decide what should go inside a retail kit. It does not promise a particular wear time. Fit, nail condition, preparation, water exposure, work, adhesive amount, and removal method can all change the outcome. A product page should make those limits clear instead of treating one customer’s result as a universal benchmark.
Begin with the wear plan
Before selecting an adhesive, decide what the set needs to do. Use four questions:
-
Wear duration: Is this a short occasion set, a several-day set, or an open-ended wear experiment?
-
Removal goal: Does the wearer want to remove it with minimal residue and preserve the tips?
-
Design profile: Is the design short and low-profile, or long and decorated?
-
User effort: Is the wearer comfortable following a multi-step application and removal process?
A short-use plan usually prioritizes convenience and reversibility. A longer-use plan may prioritize a more secure attachment, but that makes removal and reusability more important to discuss. Write the intended wear plan on the product page and the instruction card. “Weekend wear,” “occasion wear,” “test fit,” and “longer wear” are more useful than an unsupported promise such as “lasts for weeks.” They help a buyer choose before opening the package, and they help your brand decide what must be included.
What liquid nail glue is good at—and what it asks of the user
Liquid nail glue is often selected when a wearer wants a more secure attachment than a peel-and-press tab may provide. It can suit customers who are willing to prepare carefully, work one finger at a time, and follow the specific product’s instructions. It is not automatically the best option for every press-on set or every beginner.
The user tasks are precise. She needs to select tips that fit, arrange them before opening glue, use only the amount advised by the glue instructions, place the tip accurately, and hold it without shifting. Overflow at the cuticle or sidewalls is not a sign of extra security. It is a signal that too much adhesive, too much pressure, a poor fit, or all three may be involved.
Liquid glue also changes the removal conversation. A brand should not imply that a user can pull a firmly attached tip off without risk. The instruction card should direct the customer to the adhesive manufacturer’s removal directions and tell her to stop if removal is painful or resistance is unusual. It should also tell customers not to apply adhesive to broken, irritated, or visibly damaged skin or nails, and to seek appropriate professional advice for persistent nail problems.
For the consumer who wants a brush-style application format, review this Amazon option before purchase: brush-on press-on nail glue. This is an affiliate link. Read the live listing and directions before deciding that it suits a particular set, customer, or wear plan. Its presence here is not a claim about its performance, formula, or suitability for sensitive users.
What adhesive tabs are good at—and what they do not solve
Adhesive tabs are a different commitment. They can be attractive for customers who want a faster change, less liquid handling, or a more reversible starting point. They can also be useful for a size test, a photoshoot, or a set that the customer hopes to wear again. But a tab is not a universal fix for loose nails, poor fit, or an unclear product instruction.
Tab size matters. A tab that is visibly larger than the natural nail may extend into the sidewalls or create an untidy edge. A tab that is much smaller may leave too little contact area. The customer needs to match the tab to the natural nail and the chosen tip, not select one tab size for every finger. The brand should show this with a close image, not only a written sentence.
Thickness matters as well. Some customers notice a raised or movable feeling under a tip. That may come from the tab’s thickness, the placement, trapped air, a curve mismatch, or a tip that does not sit flush. Do not tell a customer to press harder until the discomfort disappears. First check fit and placement.
Tabs create an honest product-positioning opportunity: they help a brand serve customers who do not want the same experience as a long-wear glue user. That is not an inferior use case. It is a different one. The kit should say whether tabs are included for trial wear, for temporary wear, or as an alternative application method. If a design is especially long, curved, or three-dimensional, say that its geometry may change how it feels and how reliably any adhesive performs.
For a second consumer option, compare a press-on adhesive-tab product here: adhesive-tab option. This is an affiliate link. Confirm the active listing, quantity, tab sizes, directions, and suitability yourself before purchase.
Avoid the “glue plus tabs always wins” claim
Some experienced users combine a tab with a small amount of liquid glue. Others find that this makes removal harder than expected. Both reports can be true because the products, amounts, fit, removal method, and wearer’s goals differ.
A brand should not promote a combined method as an automatic upgrade. If you decide to include both components, frame them as choices and define the cases in which you have actually tested the instructions. You might say that the set includes two application routes, then present a decision table:
| Wear goal | First route to consider | What to clarify |
|---|---|---|
| Quick event or photos | Adhesive tab | Fit, tab size, and removal plan |
| First trial of a new shape | Adhesive tab or no-adhesive dry fit | Do not force a tip that does not sit correctly |
| Several-day wear | Liquid glue, if the user follows its directions | Amount, placement, and removal directions |
| Reuse is important | A route designed for cleaner removal | Reusability depends on adhesive residue and the tip material |
| Long or raised design | Test fit and application route before the event | Geometry can increase leverage and catching risk |
The table is not a performance guarantee. It reduces the common mismatch between a customer’s goal and the kit’s implied promise.
Build the kit around steps, not random accessories
A useful retail kit has a sequence. The user should be able to understand what each item is for before opening it.
Step one is selection: choose the ten tips and check the fit without adhesive. Step two is preparation: follow the brand’s stated preparation instructions with the included file, pad, or stick only where appropriate. Step three is attachment: use the chosen adhesive route. Step four is finishing: check that no edges are lifting and that the design sits comfortably. Step five is removal: return to the adhesive-specific directions rather than improvising.
For a basic kit, the components usually need to support those steps:
-
A clear size reference or a route to a separate sizing kit.
-
One chosen adhesive route, or two clearly labelled routes.
-
A small file or buffer only if the instructions explain its purpose.
-
A manicure stick appropriate to the application or removal instructions.
-
A prep pad if it is part of your documented protocol.
-
A concise instruction card and a way to request help.
Do not add components simply because another seller includes them. Every item has a cost, a packing task, a safety and instruction burden, and a chance to confuse the customer. A very low-cost kit with no explanation can create more support work than a smaller kit with clear choices.
Practical routes
These links are starting points for comparison. Confirm current product details, dimensions, material, pack configuration, pricing, and affiliate terms on the live destination before relying on them.
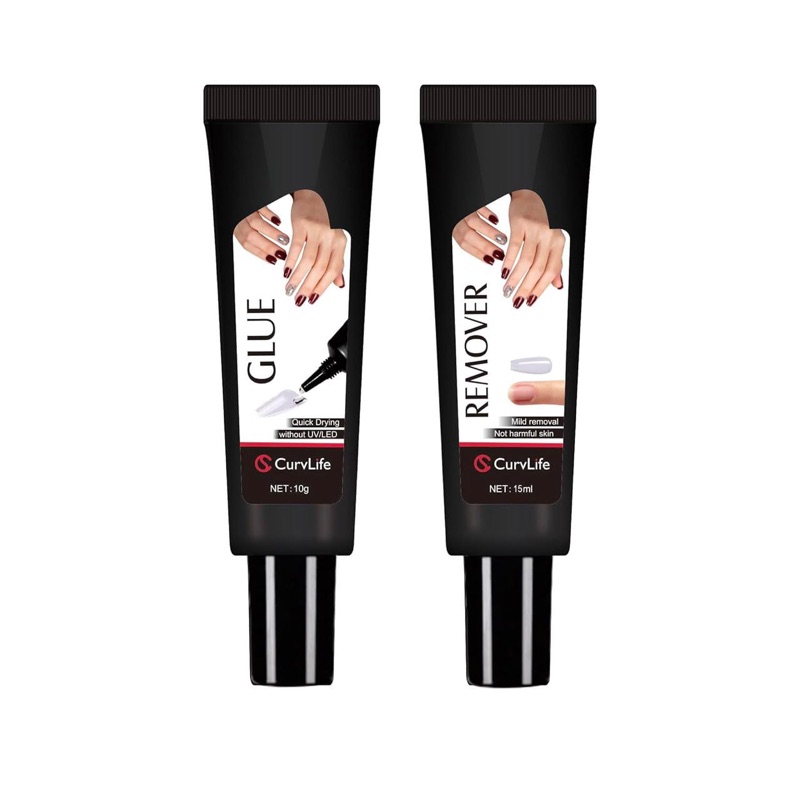
Semi-solid nail glue with a glue remover, 10 g + 15 ml
A semi-solid nail glue supplied with a separate remover and listed as usable without a UV or LED lamp. Check the working time and the removal instructions against the wear plan you write for customers.
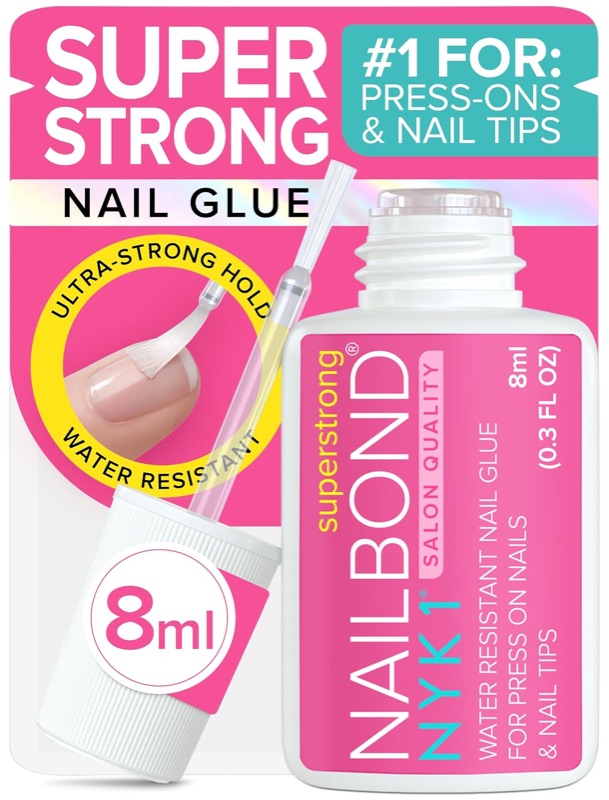
Brush-on nail glue for press-ons, tips and acrylics, 8 ml
A brush-on nail glue for press-on nails, tips and acrylics in an 8 ml bottle. Useful as the second adhesive in this comparison: compare the brush applicator and the stated bond type against the semi-solid glue.
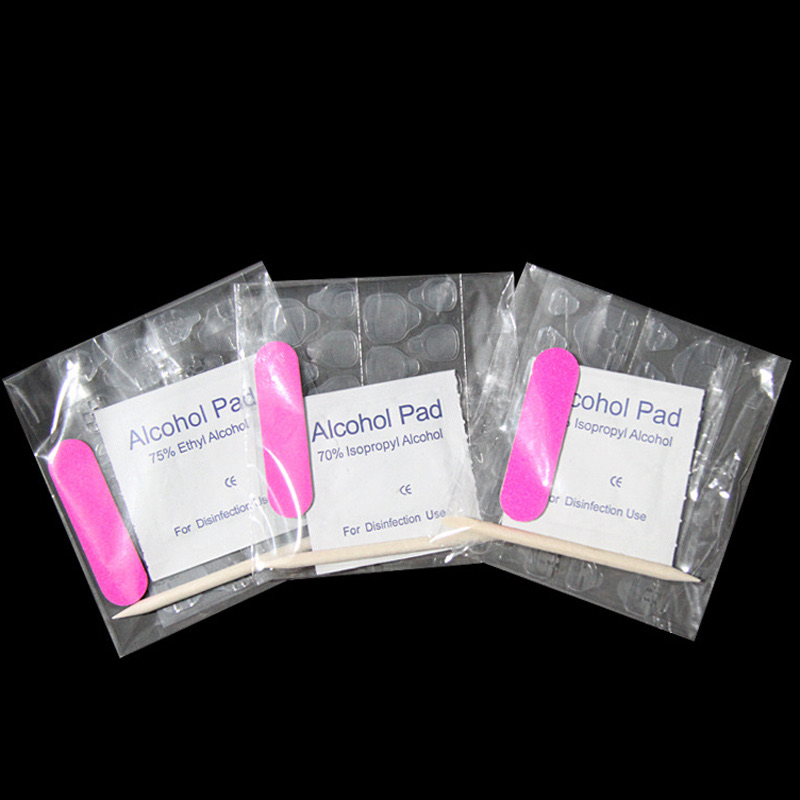
Press-on nail application tool kit with file — wholesale
A wholesale press-on application kit built around a nail file and preparation tools. A sourcing starting point for asking about the component list, pack configuration, and the evidence needed before recommending a kit.
Card photos are the current marketplace listing images and may differ from the delivered product; confirm details on the live listing.
Make the instruction card do real work
Instruction cards often fail because they repeat generic advice and leave out the decision points. A customer needs to know what to do when the tip is too wide, too curved, uncomfortable, lifting at one edge, or covered by glue. She also needs to know which instructions belong to the glue or tab she actually selected.
Use short sections:
Before you apply: dry-fit each tip and stop if a tip causes pressure or does not sit correctly.
Choose your route: explain the intended use of tabs and glue without claiming guaranteed longevity.
Apply carefully: refer to the component manufacturer’s directions for amount and timing. Do not advise customers to add more adhesive merely because a previous application lifted.
During wear: say that a lifted or painful tip should not be forced back into place without checking the fit and adhesive instructions.
Remove with patience: link or point to the relevant removal method. Do not tell customers to pry or rip off firmly attached tips.
Get support: give a simple contact route and ask for the SKU, shape, size selection, application route, and a photo when the customer agrees to share one.
This card becomes a product-development tool. If you repeatedly receive the same question, you can see whether the issue is a missing instruction, a component mismatch, or a product problem that needs sampling.
Test component combinations before you sell them
A brand should test the complete retail configuration, not only the nail design. Use the exact pack: the intended tips, the adhesive, the file, the pad, the stick, the card, and the outer packaging. Check whether the components are identifiable after opening and whether instructions match the physical items.
Keep a simple record for each version:
-
Nail SKU, shape, length, and size mix.
-
Adhesive route included.
-
Manufacturer’s directions retained with the component.
-
Instruction-card version.
-
Pack date and lot or source reference, where available.
-
Any customer reports connected to the configuration.
For a brand sourcing a complete component kit rather than buying single retail tools, you can inspect this Alibaba application-kit listing: Check application-kit options on Alibaba. This is an affiliate link. Treat it as an inquiry starting point only. Confirm the final component list, material details, sample availability, MOQ, packaging, applicable documentation, and the exact CPS landing page before publishing any supplier claim.
Match your return and support policy to the kit
Press-on nails are often treated as personal-use products, which makes return handling sensitive. That makes pre-purchase clarity more valuable, not less. A clear kit page can reduce avoidable complaints by showing what is included, explaining the two adhesive routes, and directing customers to a sizing path before a made-to-order set is produced.
When a customer reports an issue, identify the category before offering a fix. Is it fit? Adhesive choice? Missing component? Unclear directions? A damaged item? A product reaction or discomfort? The last category deserves caution rather than a standard troubleshooting script.
Your support form should not suggest that more glue is the answer to every lifting complaint. Ask whether the tip fit dry, which adhesive route was used, whether the issue occurred at one finger or across the set, and whether there was any pain or irritation. Those answers help you decide whether to offer a replacement component, revise instructions, investigate the product, or ask the customer to stop use and seek appropriate professional advice.
The best kit is a clear choice architecture
A press-on nail kit earns trust when it helps the customer choose, apply, wear, remove, and report problems without guessing. Glue, tabs, and prep tools are not decorative extras. They are part of the product promise.
For a short occasion, a tab route may be the more honest choice. For a longer wear plan, a glue route may be considered only with clear application and removal directions. For a brand, the most important work happens before either option reaches the box: sample the components, document the pack, write instructions for real decisions, and let customer feedback improve the next version.
The result is not a claim that one adhesive is universally best. It is a kit that tells the truth about its options—and gives both the wearer and the brand a practical path when the first application does not go as planned.
Affiliate disclosure: This guide may contain affiliate links. If you use one, HerBrandKit may earn a commission at no extra cost to you.