Every press-on nail seller knows the tempting moment: a new box of tips arrives, the shape looks familiar, the size numbers are embossed, and customer orders are waiting. It is easy to sort the tips into drawers and carry on.
That is precisely when a small difference becomes expensive.
A tip marked "5" is not a universal object. Its width, cuticle edge, sidewall, curve, length, and thickness belong to a particular tip family. In a community discussion, a seller found that her measurement of a curved tip did not agree with the listed dimension; another seller was advised to use a physical sizing kit because tip sizes vary between sellers. That is a consumer-sizing problem, but it starts earlier as an inventory-control problem.
The practical answer is not to inspect every tip in a delivery before you work. It is to keep one approved physical reference — often called a golden sample — and use it to decide whether a new batch belongs in your existing size system. If the new material differs in a way that changes fit, presentation, or the promise made by a sizing kit, hold it apart until you have made a decision. Do not let a label persuade you that two lots are interchangeable.
This guide is for independent press-on nail brands and nail artists who buy blank tips, make sizing kits, or receive finished sets. It is a release process, not a guarantee of perfect customer fit.
Why the approved sample matters more than the listing photo
A listing image can show the intended shape. It cannot reliably preserve cuticle line or curve, and screens make finish and color hard to judge. A supplier guide recommends retaining an approved finished set with its item, version, approval date, and artwork version.
For a small brand, the golden sample does not need a laboratory-style archive. Keep a complete, clean version of the exact tips or finished product you approved, separately from saleable inventory. Attach a card with enough information to prevent a future guess:
| Record on the reference card | Why it belongs there |
|---|---|
| Brand item name and internal SKU | Keeps similar designs from being compared by memory alone |
| Tip family, shape, and length | "Almond" or "short" is too broad when several moulds are in use |
| Supplier, listing URL or order reference, and date received | Helps you trace which source produced the physical reference |
| Size sequence and the measurement method used | Stops an internal size chart being silently attached to another mould |
| Finish, color, decoration, accessory, and packaging version | Lets you compare the complete sellable experience, not just a loose tip |
| Photos of the sample beside the card | Useful supporting evidence if the physical reference is later damaged |
Separate the delivery before you decide anything
New tips should enter a quarantine tray, bag, or clearly labeled bin first. Do not put them into the same drawers as approved stock while you are still comparing them. Once lots are mixed, a complaint is harder to trace, and a sizing kit can silently carry two geometries.
At minimum, label the incoming material with the delivery date, supplier, shape/length as sold, and your internal lot name. Photograph carton or bag identifiers too.
Then pull a comparison set. Select the sizes that matter to your preset system and take them from more than one location in the incoming pack. There is no universal number of tips to pull; compare enough pieces to see whether a difference repeats.
Check the fit geometry before you check the polish
Fit failures start with a tip that does not sit on the nail in the same way as the tip in the sizing kit.
Lay the incoming tip beside the approved one, with both cuticle ends aligned. Do this size by size; do not compare only the widest or longest tip. Look first, then measure only where a decision depends on it.
1. Width at the usable fit line
Measure or compare at the point your brand uses to match the wearer's natural nail — not automatically at the widest visible point of a curved shell. The method must be the same on the approved and incoming tip. If you use a caliper, record where the jaws were placed.
This distinction matters because a curved edge and a straight-line span are not the same measurement. The seller mentioned above was specifically unsure whether a listed dimension had been measured around the bottom curve or straight across. That uncertainty is a reason to document your own method, not a reason to assume every supplier reports dimensions the same way.
2. Curve and sidewalls
Place the two tips cuticle-to-cuticle and look from the front and from the side. Does one form a deeper arch? Does one flare farther at the sidewall? Does one pinch inward near the cuticle? A tip can have a close width measurement yet sit differently because its curve is different.
Write what you can actually see: incoming size 4 has visibly higher sidewalls than approved size 4 is more useful than curve seems off. If possible, test both versions on the same person rather than inferring fit from a photograph.
3. Cuticle edge and left-right symmetry
The edge closest to the cuticle is a high-visibility area. Check whether it is more rounded, flatter, sharper, or shifted compared with the approved reference. Then compare left and right pieces where your product has paired designs. A customer may tolerate a small hidden material variation; they will notice a tip that looks crooked at the cuticle line.
4. Length, silhouette, and thickness
Line up the cuticle ends and compare where the free edge lands. A mould can be sold under the same shape name while producing a different taper or shoulder. Compare material at the cuticle and free edge. The aim is to notice when the finished set would look different from the version customers sized against.
Make a ten-minute test set before releasing the lot
Loose-tip comparison catches a lot. It cannot tell you whether the incoming material will behave normally once it is painted, decorated, paired, and packed.
Make one ordinary test set from the incoming batch. Use the same prep, color system, curing approach, and finish you use for the intended product. If it is a pre-designed retail set, build the exact size sequence and include normal accessories.
During that short build, look for practical production differences:
- Does the tip sit flat while you work, or does its curve make the design harder to place?
- Does the cuticle edge still look clean after the normal finish is applied?
- Does a charm, raised design, or French line land in the same visual position as it did on the approved tip?
- Does the usual size sequence still look balanced when the ten finished nails are laid out together?
- Can the set be placed in its usual packaging without pressure on a long free edge or 3D decoration?
This is where an apparent "close enough" difference becomes a commercial decision. If one tip family makes a familiar design look visibly shorter, more curved, or crowded at the cuticle, it should not quietly replace the one pictured in the sizing kit or listing.
Use three release decisions, not one vague approval
An incoming batch does not have to be simply good or bad. Give yourself three clear outcomes.
| Decision | When it fits | What to do next |
|---|---|---|
| Release to the existing system | The relevant sizes, curve, finish, and test set match the approved reference closely enough for your documented offer | Add the lot to approved stock and retain the comparison notes |
| Release as a new version | The material is usable, but the fit or visual result differs enough that old sizing-kit or listing promises no longer describe it | Give it a new internal version; update the sizing-kit sample, measurement table, photographs, and product copy before sale |
| Hold for supplier discussion or rework | The difference makes the product unreliable, inconsistent, damaged, incomplete, or different from what was approved | Keep it separate. Photograph the comparison and discuss a remedy before building customer orders from it |
The middle option is important. A new version is not a failure; it prevents a customer who used your sizing kit receiving tips from a different geometry.
Retail and sourcing references
The following links are retail and sourcing references for the checks described above. We may earn a commission from qualifying purchases through these links. The linked products do not prove that a listed tip family, size sequence or measurement matches your approved reference. Recheck current product details, size availability, minimum order requirements, and CPS eligibility before ordering.
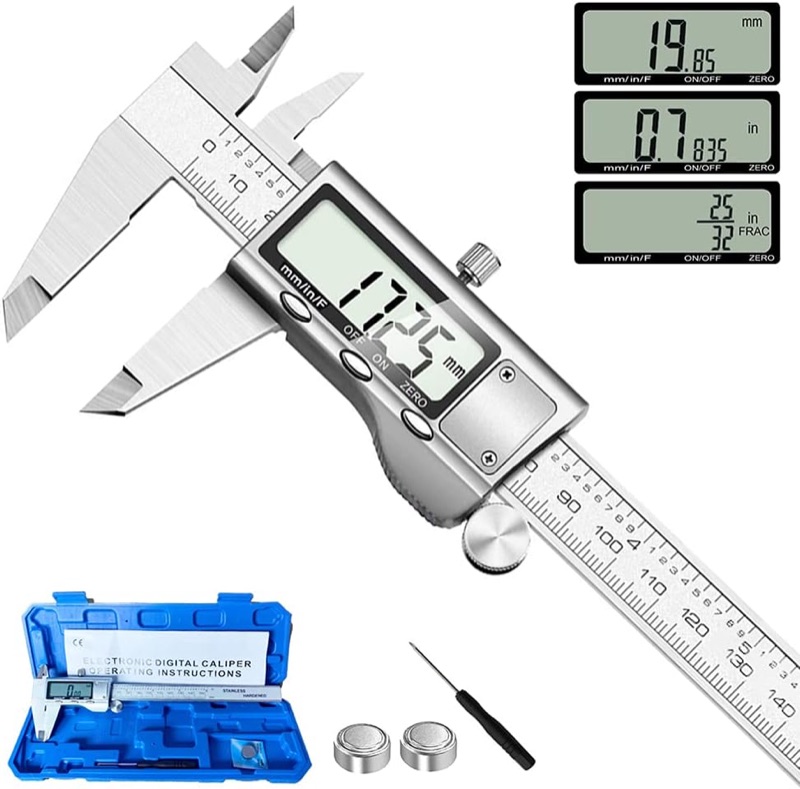
Digital caliper for tip width and curve checks
A stainless steel digital caliper with an LCD readout, for recording tip width at the same measurement point on both the approved and the incoming tip. The number only helps if the jaws are placed the same way each time.
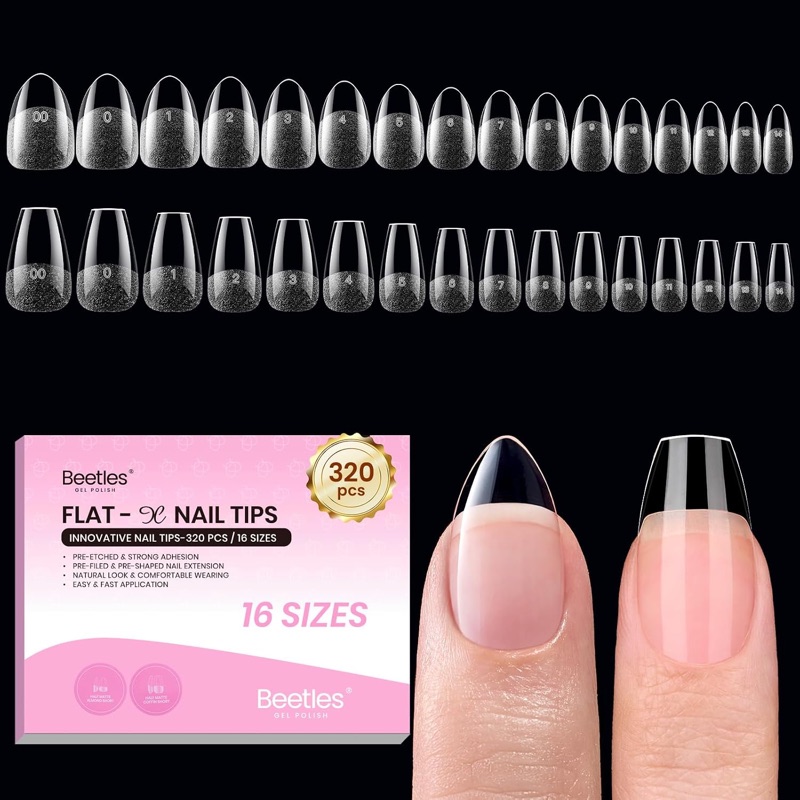
Gel nail tips, flat-X almond/coffin short, 320 pc, 16 sizes
A 320-piece gel tip set across 16 sizes in a flat-X profile. Useful as a stated-family comparison when you are documenting what a size sequence actually covers — the listing does not tell you how it measures against your approved tips.
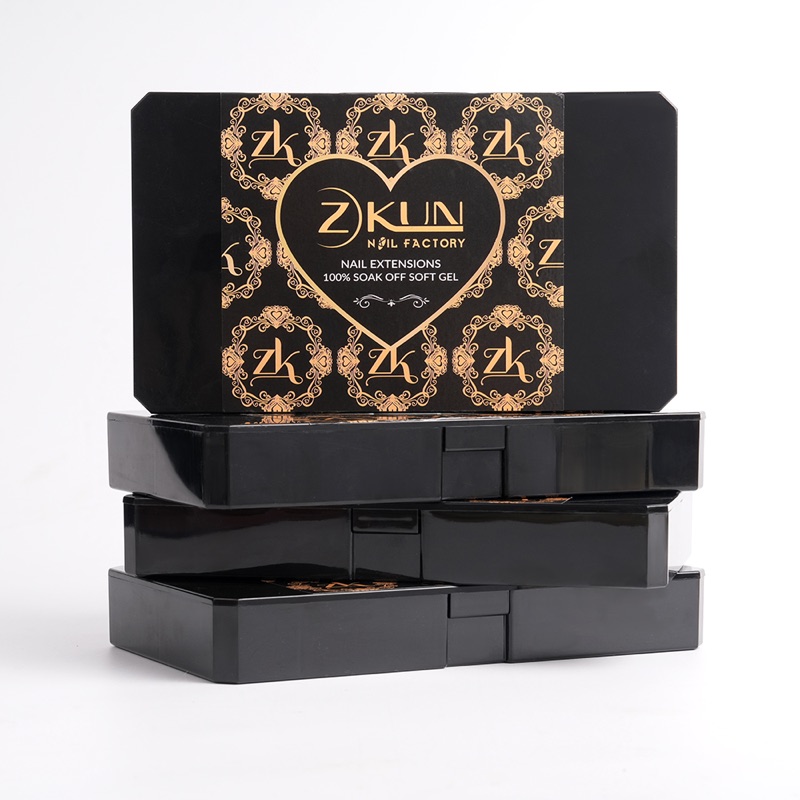
14 Sizes HEMA-Free Full Cover Soft Gel Nail Tips — Almond / Medium, Clear
A wholesale 14-size full-cover soft-gel line with a private-label option. A sourcing route for asking whether a replacement lot belongs to the same mold family as your approved reference before it enters sellable stock.
Card photos are the current marketplace listing images and may differ from the delivered product; confirm details on the live listing.
Do not let a measurement table outrank a try-on
Millimeter records are useful. They are also easy to overtrust. A number can reveal that two sizes are different; it cannot alone tell you how a curved shell will seat on a particular nail bed. Consumer reporting reflects this: fit problems persist at both wide and narrow ends of the range, and shape, curvature, and cuticle shape matter alongside width.
Use measurements to make your internal system repeatable, then use the physical sizing kit to make the customer-facing choice. A creator tutorial on the subject shows another practical detail that brand guides often skip: label each physical tip in the kit clearly enough that customers cannot mix up the embossed numbers. The video also places two tips marked with the same number but from different lengths side by side, illustrating why the family must be named, not merely the number.
If you change a tip family, do not keep mailing the old kit just because the preset names — XS, S, M, L — remain unchanged. Either keep the old family in production or refresh the kit and the chart together. "Small" is a product decision, not a physical dimension that exists independently of your tips.
Write the supplier message from the evidence, not frustration
When a batch needs to be held, send a message that another person can act on. Avoid "the sizes are wrong" without context.
Instead, state the approved reference, the incoming lot, the relevant size numbers, and the observed difference. Attach the same-angle photographs that you used internally. If you measured, state the method. Say what decision you need: confirmation of a mould change, replacement material, a new sample, or permission to treat the material as a new version.
For example:
We compared incoming lot [your lot name] with the approved [shape/length/version] reference. In sizes 3, 4, and 5, the incoming tips have visibly higher sidewalls and a different cuticle line. Our test set does not match the sizing-kit reference. Please confirm whether the mould or material changed and advise how you propose to resolve this before we release the lot.
The customer complaint that should change your next inspection
Incoming checks are not a one-time ritual. Build a small feedback loop from customer messages, remakes, and sizing-kit returns. If customers repeatedly say a particular preset feels narrow, or that a specific finger needs more filing than it used to, do not assume it is only user error. Check whether the complaint is concentrated in one tip family, shape, length, or incoming lot.
Keep the record simple: date, product version, shape/length, issue, and action. Over time, it reveals which sizes deserve extra attention in a new delivery.
The goal is not zero variation. Handmade work, different nail beds, and changes in raw material make that unrealistic. The goal is a defensible promise: the sizing kit, listing, finished set, and replenishment stock all refer to the same known tip system.
Before the new tips enter your drawers
Do one final check before you mix the delivery into working stock:
- The approved physical reference is identified and still intact.
- The new lot is labeled and photographed separately.
- Key sizes have been compared using the same method as the reference.
- Curve, cuticle edge, sidewalls, length, and thickness have been looked at — not just the embossed number.
- One normal test set has been built and placed in the usual packaging.
- You have chosen release, new version, or hold.
- If anything changed, the sizing kit and product information change with it.
A batch is ready when it is known — not when it merely resembles the previous one.