A customer who says “these were too curved,” “my thumbs did not fit,” or “they looked huge from the front” is not giving you a generic review. She is describing a product signal. The useful job for a press-on nail brand is to preserve that signal before it becomes a vague conclusion such as “the sizes are wrong.”
Fit feedback is especially valuable because it connects the customer’s real nail bed to choices made much earlier: tip mould, curvature, size range, size numbering, set assortment, shape, length, and instructions. If you record those details consistently, feedback can improve the next sample or reorder. If you only count stars and refunds, it cannot.
This guide explains how to collect fit feedback without pretending that every comment proves a factory defect. It is for small brands selling ready-to-ship or made-to-order press-ons. The goal is not to diagnose a customer’s nails remotely. The goal is to identify patterns that justify a change to the product specification, the size guide, the sizing kit, or the customer-facing instructions.
Separate the complaint from the likely cause
Start by recording the customer’s exact wording. Do not translate “pressure on my thumbs” immediately into “too small.” Pressure can come from a tip that is too curved, a tip that is too narrow, a tip forced on beyond the sidewalls, or application choices. “It looked too wide” may describe a selected size, a sidewall mismatch, a long shape that appears visually broad, or a different expectation from the product photos.
The first record should therefore have two fields:
-
Customer observation: the words, photograph, finger, and stage of use.
-
Brand interpretation: the possible product or instruction causes you want to investigate.
Keep them separate. The observation is evidence. The interpretation is a hypothesis. When several customers describe the same issue in a comparable way, the hypothesis becomes worth testing.
A useful complaint intake asks for the SKU, shape, length, selected size or size-kit numbers, and which fingers had the issue. Ask whether the problem appeared when the tip was placed dry on the natural nail, immediately after application, or after wear. Request a top-view photo and, where the customer is comfortable sharing it, a shallow side-view photo. Do not ask customers to force, heat, bend, or keep wearing a painful product to provide better evidence. Comfort and safety come first.
Build a fit-feedback record that can be compared
Create one row for each report, whether it comes through email, a review, direct message, or a customer-service form. The record does not need to be complex. It needs stable fields.
Include the following:
-
Order date, SKU, collection, shape, and length.
-
Set route: ready-to-ship, made-to-order, or based on a sizing kit.
-
Chosen size codes for all ten fingers, if known.
-
Affected finger or fingers.
-
Exact customer description of the issue.
-
Dry-fit, application, or wear stage.
-
Photos or video, stored with permission.
-
Action taken: coaching, replacement size, refund, revised sizing-kit instruction, or product investigation.
-
Internal tag: width, curvature, length/visual proportion, sidewall, missing size, adhesion, or unclear.
Use a simple status system. New means the report has been logged. Need more detail means you cannot yet classify it. Pattern review means similar reports are being compared. Product action means the finding will change a sample, order, mould selection, size set, or guidance. Closed means the issue was resolved without a product change.
Measure width and curvature as different problems
Width and curvature are related, but they are not interchangeable. A tip can cover a natural nail at the widest point and still pinch because its arch is too high. A flatter tip can seem too wide in a top-view photograph while fitting the sidewalls better. A customer can also have one finger with a different profile from the rest of the hand.
For width reports, look for where coverage fails. Does the tip stop short before both sidewalls? Does it cover one side and overhang the other? Does the customer repeatedly choose the largest numbered tip and still lack coverage? These observations may show that the current assortment has a missing width, that its numbering is unclear, or that a broad-thumb option should be tested.
For curvature reports, ask what happens during a dry fit. Is there an air gap at the sidewalls or center? Does the tip require pressure to sit down? Does discomfort begin immediately? A customer may use words such as “too curved,” “too flat,” “pressing,” or “popping up.” Treat those words as prompts for a comparison with the actual mould, not as proof that a particular curvature is universally wrong.
The specification should name the mould or product reference that you are testing. “More natural curve” is too subjective. “Test the same length and width range in the flatter reference mould, using the same size mix” creates a comparison a supplier can understand.
Identify whether the gap is in the range or the assortment
A size range tells you which individual tips exist. An assortment tells you which tips you include in a sellable set. A brand can have a suitable wide thumb in the supplier’s box but omit it from a 24-piece retail kit. It can also have sufficient total tips while providing too few alternatives for the sizes customers most often need.
When reviewing feedback, ask three different questions:
-
Does the supplier’s tip range contain a possible fit?
-
Is that tip included in the retail assortment?
-
Can a customer identify and select it before purchase?
A “no fit” report may have a different answer to each question. If the tip exists but is not packed, review your set composition. If it is packed but the size kit does not reveal it clearly, revise the kit and guide. If it does not exist in that mould, the product-development task is to locate or sample an alternative mould—not to promise a customer that a bigger size will arrive.
For made-to-order sets, record each requested code and the corresponding physical tip. Do not change a customer’s selection to a similar-looking size without recording the change. For ready-to-ship kits, count which spare sizes are repeatedly unused and which sizes are repeatedly requested. That is not enough information to calculate a universal ideal mix, but it is enough to justify a focused review of your own assortment.
Use sizing kits as a data instrument
A sizing kit is not only a convenience product. It is a small test of whether your customer can identify a usable fit before the finished set is made or purchased. If a kit has a different curve, length, or size numbering from the final design, it can create false confidence.
Keep the kit linked to a specific shape family, length, and mould whenever those features differ. State what it represents and what it does not. A kit may identify width and curve within one family; it cannot guarantee that every longer, thicker, or heavily decorated design will feel identical.
If you need a physical reference while recording sizes, compare a numbered nail-tip option and a second nail-tip reference. Confirm the live listing’s shape, size range, and numbering before using either one as the basis for a customer-facing sizing kit.
Ask customers to record the size code from each finger, not only a photo of the kit. A simple ten-finger form reduces transcription mistakes. It should also remind them to choose a tip that reaches sidewall to sidewall without excessive overhang, rather than choosing by number alone. Avoid presenting a single thumb measurement as a complete sizing method. A wide thumb can be a key signal, but the finished set must fit all ten nails.
When a customer sends back a kit result, store it with the product family. If a later order produces a complaint, you can ask whether the final set used the same numbered tips as the approved kit. That comparison is more useful than trying to infer fit from a product image.
Practical routes
These links are starting points for comparison. Confirm current product details, dimensions, material, pack configuration, pricing, and affiliate terms on the live destination before relying on them.
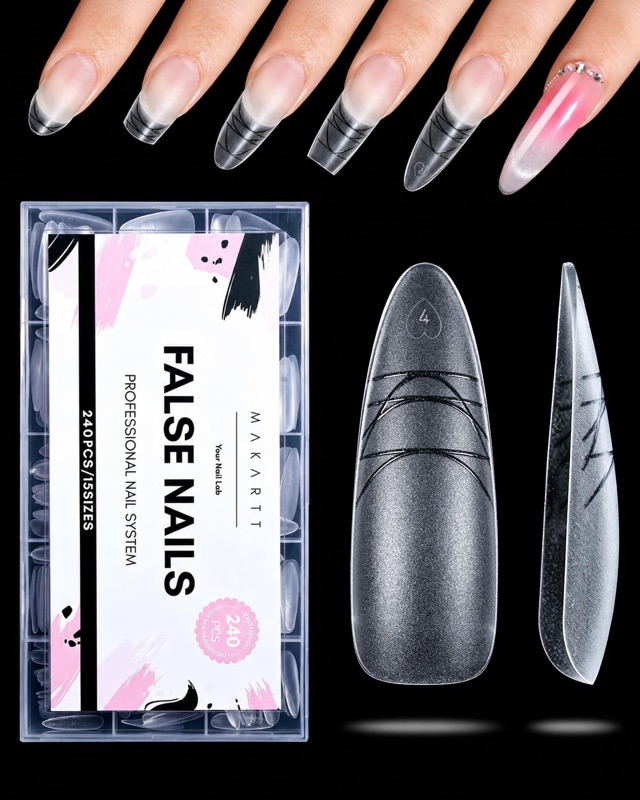
Long almond nail tips, 240 pieces, 15 sizes — matte
A 240-piece matte long almond tip set in 15 sizes, listed with measurement scales. Use it to see how a wider size range changes what customers report about fit before they order.
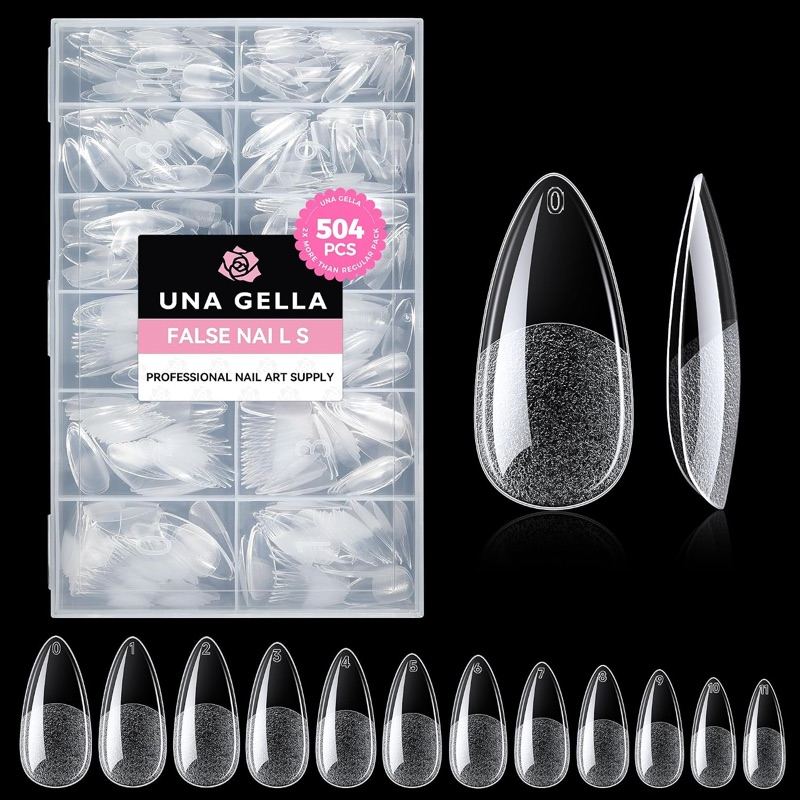
Medium almond gel nail tips, 504 pieces, 12 sizes — pre-etched
A 504-piece pre-etched medium almond gel tip set in 12 sizes. Useful as the higher-count comparison when you check whether a shorter size list still covers the fits customers complain about.
Card photos are the current marketplace listing images and may differ from the delivered product; confirm details on the live listing.
Turn patterns into a sample brief
Do not go to a supplier with a pile of screenshots and the instruction “fix the sizing.” Summarize the pattern first. A good brief identifies the affected SKU family, the number of comparable reports, the fingers involved, the observed fit outcome, and the exact sample question.
For example:
“SKU family: short almond, mould A, 24-piece ready-to-ship kit. Pattern: six recorded reports across two months describe thumb pressure or inability to cover the full thumb width. All were customers using the largest included thumb option. Sample request: retain shape and visible length; compare mould A with a flatter profile reference and include two wider thumb options. Send the complete proposed retail size mix in the sample pack.”
That brief does not claim that every customer has the same nail bed. It states what your brand has observed and what you need to compare. Add photographs of the current reference sample and the relevant size identifiers. Ask whether the supplier’s identifiers map directly to the tips supplied in the sample. If they do not, record the mapping yourself.
For visual-proportion complaints, keep the test separate. “Too big from the front” may lead to a shorter length, different sidewall profile, or clearer fit instruction; it is not automatically a curvature issue. A better brief might request the same width range in a shorter length, with a top-view and side-view comparison against the current approved reference.
Decide what to change—and what not to change
Not every pattern demands a new mould. Choose the smallest intervention that addresses the evidence.
A guide change may be enough when customers are choosing too wide a tip, misunderstanding size codes, or skipping a sizing-kit step. A set-mix change may be enough when the needed tip exists but is not included often enough. A sizing-kit redesign may be the answer when kit and final set use different identifiers or shapes. A product change is warranted when repeated dry-fit evidence indicates that the existing mould cannot serve an important part of your target customer.
Before changing the product, define the result you need to see. Examples include: a wider thumb option is included and identifiable; the alternative mould creates less pressure during dry fit for the reported group; the revised kit and final set use the same codes; or the new assortment includes the sizes customers most often request. These are product and process outcomes. They are not promises that every customer will find a perfect fit.
Version every decision. If you change the mix or sizing guide, record the date, the SKUs affected, the old and new version, and the reason. Keep a physical reference set for both versions. Otherwise, future feedback will be compared across products that look similar but are not actually the same.
Close the loop with customer communication
Customers do not need an internal quality-control lecture. They need clear sizing help, honest limits, and a practical next step. Use feedback to make the purchase path easier: show the correct mould or shape family in the sizing-kit listing, explain how to record sizes, identify whether a wider option exists, and state your policy before purchase.
If a customer reports pain, lifting, or a clearly wrong fit, treat it as service first. Offer the support permitted by your policy, then ask whether she is willing to share the details that help you investigate. Do not require a detailed diagnostic in exchange for assistance.
For your product page, avoid claims such as “fits every nail shape” unless you have evidence that supports that exact claim. A more useful statement is specific: “This sizing kit is for our short-almond mould; use the codes from this kit when ordering the matching collection.” Specificity reduces the chance that a customer assumes a kit works across unrelated shapes and lengths.
Review feedback on a schedule
Set a recurring review point—monthly for an active launch, or after a defined number of orders for a smaller range. Review by SKU family rather than only across the whole brand. A high-curvature almond tip may have a different pattern from a short square mould.
Bring four things to the review: the feedback log, the current size guide, the sizing kit, and one retained retail set. Read a handful of original messages, not only your tags. Then decide whether the evidence supports no change, an information change, a mix change, or a sample request.
This review is where consumer language becomes procurement work. “My thumbs hurt” may become “sample the flatter mould with two wider thumb options.” “The kit number did not match my order” may become “align kit and final-set codes.” “It looked too wide” may become “test the shorter length before changing the width range.”
A better press-on nail product comes from a traceable connection between feedback, size records, retained samples, and the next supplier specification.
Affiliate disclosure: This guide contains Amazon affiliate links. If you buy through them, HerBrandKit may earn a commission at no extra cost to you.