A size chart is not a decorative image at the bottom of a product page. For a press-on nail brand, it is the working connection between a customer’s measurements, your selected mould, your sizing kit, and every future reorder. If that connection is weak, the same problems appear again and again: a customer chooses a familiar size code that does not fit, a replacement set uses a different mould, and the team cannot tell whether the problem came from a measurement, a chart, or the product itself.
The reliable approach is to build a separate chart for each exact shape–length–mould combination. “Short square” is not interchangeable with “medium almond,” even if both boxes say 0–9. Nor is a soft-gel almond necessarily interchangeable with an ABS almond from a second supplier. Customer discussions make this practical point repeatedly: the same person may wear a different number in a short square, a long stiletto, or even another line from the same brand. Your chart must describe the physical tips you sell, rather than recreate a generic internet chart.
This guide explains how a small press-on business can create that system before launch, keep it accurate through sampling and replenishment, and turn it into clear customer-facing guidance.
Start with a chart scope that cannot drift
Name the chart so that it identifies one thing only. A useful naming pattern is material / coverage / shape / length / mould or supplier code / revision. For example: “Soft gel / full cover / medium almond / mould M-A-03 / rev 2026-10.” That name may feel internal, but it prevents a serious mistake: applying measurements from a soft-gel medium almond to an ABS long almond because both are called “almond.”
Create a new chart whenever any of these variables changes:
- The mould or factory changes;
- The material changes from ABS to soft gel or another compound;
- The shape or length changes;
- The product changes from half cover to full cover;
- The supplier changes the tooling or states that a new batch has a new chart; or
- Your own sample checks show a material size difference that affects fit.
Do not start from S, M, and L. Those are customer-facing bundles, not a source measurement system. Start from each numbered tip and its actual dimensions. After your data is stable, you can map common ten-number combinations to S, M, and L for faster shopping. That mapping should be presented as a starting point, not a promise that every person with “medium” hands wears the same ten sizes.
Choose the measurement method before you touch the tips
Consistency matters more than sophisticated equipment. Pick one method, record it, and repeat it across every mould. The basic measurement is inside width at the widest usable contact point, measured in millimetres from sidewall to sidewall. “Inside” matters: outside shell width can overstate what the natural nail can actually sit under.
A digital caliper gives the clearest repeatable value, but a transparent ruler and close photography can work for early sampling if the method is documented. Lay each tip on the same neutral surface, photograph it from directly above, and include a scale in the frame. Avoid measuring a curved tip only in a way that flattens the arch; record the method as well as the number.
Your core table should contain:
- Tip label, such as 0 through 9 or 0 through 13;
- Inside width in millimetres;
- Centre length in millimetres;
- Inner-curve profile, for example flat, medium, or deep;
- Cuticle profile, for example round, square, or tapered;
- Material and coverage type;
- Sample batch and measurement date;
- Photo reference; and
- A short fit note created during dry fitting.
The fit note catches information that numbers do not. A 14.5 mm tip might have enough width but a curve that lifts at both sidewalls on a flatter nail. Another tip may be only 14.0 mm but sit more naturally because its profile follows the nail plate. Your internal chart should preserve that distinction instead of forcing every decision into one column.
Measure enough pieces to see whether the pack is consistent
One tip is a demonstration, not a quality check. Choose the high-risk labels first: the largest three sizes, a middle size, and two small sizes. Measure at least five pieces from each selection; use more when the set is intended for custom sizing kits. Record the lowest and highest reading, not only the average. If the range is visibly meaningful for your fit promise, treat it as a supplier-quality issue rather than smoothing it away in the chart.
Check the number sequence while the tips are laid out. In a typical set, widths should move in a logical direction as the labels change. A duplicate width, a skipped size, or a label that does not match the compartment is a reason to pause. You do not need every gap to be identical; moulds are shaped objects, not a spreadsheet. But you do need a sequence that gives a customer a usable next size when the first choice is too small or too large.
Also inspect left-to-right symmetry and the cuticle edge. A tip can measure correctly at the widest point yet be unusable if one side is visibly thicker, the cuticle line sits too high, or the sidewalls are distorted. Put the result in the chart’s fit note rather than assuming it will be solved during application.
Build separate records for shape and length
A frequent brand mistake is to reuse a ten-number table across a collection because the supplier says the size labels are the same. Shape changes the taper; length changes how long that taper continues. A short square can have a wider, straighter sidewall at the same label where a long almond is already narrowing. A long coffin can look generous at the cuticle and become restrictive at the contact area farther forward.
Treat every new shape as a new chart until sampling proves otherwise. If you want to make a customer-friendly conversion, say “Your medium-almond code does not automatically transfer to short square. Please use the matching chart or sizing kit.” That sentence prevents more support requests than an elaborate universal conversion table.
Keep the curves separate too
A number chart explains width; a profile record explains why equal widths can still behave differently. A practical notation is to add a curve class to the product code, such as M-A-03 / medium curve. It is not necessary to ask customers to understand manufacturing language. It is necessary for your team to know which tips a customer actually received when they report that a thumb lifts or a sidewall pinches.
Use the sizing kit as a controlled sample, not a marketing freebie
A sizing kit should contain the exact tips that the customer will receive in the finished set for that chart scope. If you sell medium almond in a given mould, the sizing kit should not substitute a clear short square simply because it is cheaper to send. It may help the customer estimate width, but it cannot validate the cuticle line, taper, or inner curve of the finished product.
Label each kit with the chart name or an unambiguous shopper label, the revision, and a simple instruction card. Ask the customer to place each tip without glue, choose the smallest tip that covers the nail without pressure, and record both hands separately. A person’s left and right ring fingers may differ; treat that as normal data, not user error.
For your team, the sizing kit is a control sample. Keep one unopened master kit from each approved batch. When a new shipment arrives, compare the largest, middle, and smallest labels against the master before you decant or decorate anything. This creates a quick test for mould drift and packaging mix-ups.
Sample comparison routes
Use these links to start sampling, not as a substitute for requesting the current chart and mould confirmation:
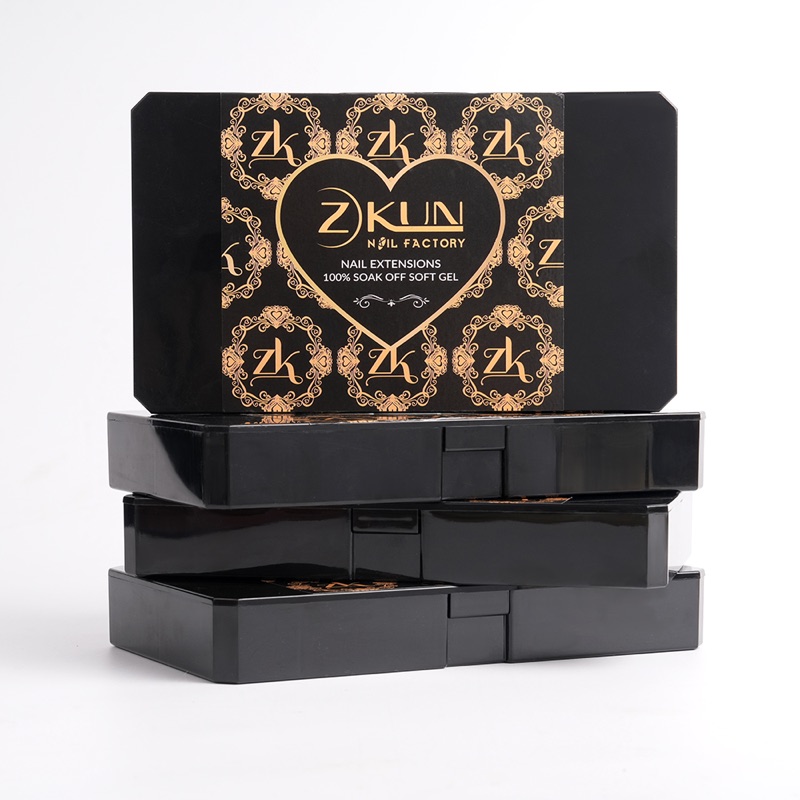
14 Sizes HEMA-Free Full Cover Soft Gel Nail Tips — Almond / Medium, Clear
A 14-size full-cover soft-gel line with a private-label option. Useful as the full-cover comparison route for a size-system project.
- Supplier
- Jiangxi Zekun Trading Co., Ltd.
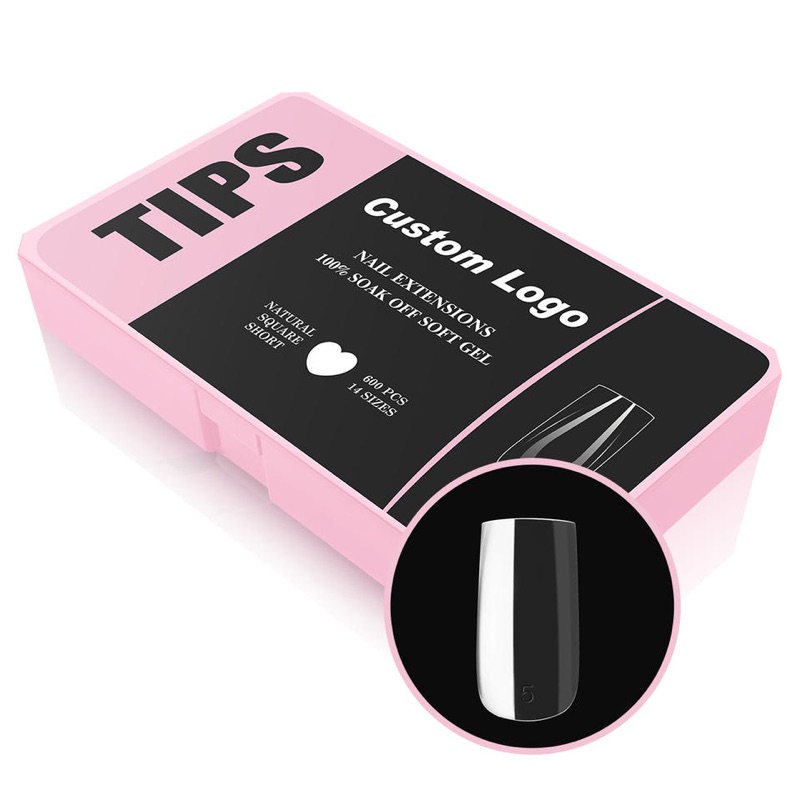
14 Sizes 602 pcs Factory-OEM Premium Soft Gel Nail Tips — Natural Clear, Square, Full Cover
A higher-count 14-size full-cover pack, intended as a like-for-like quantity comparison against the first route.
- Supplier
- Jiangxi Zekun Trading Co., Ltd.
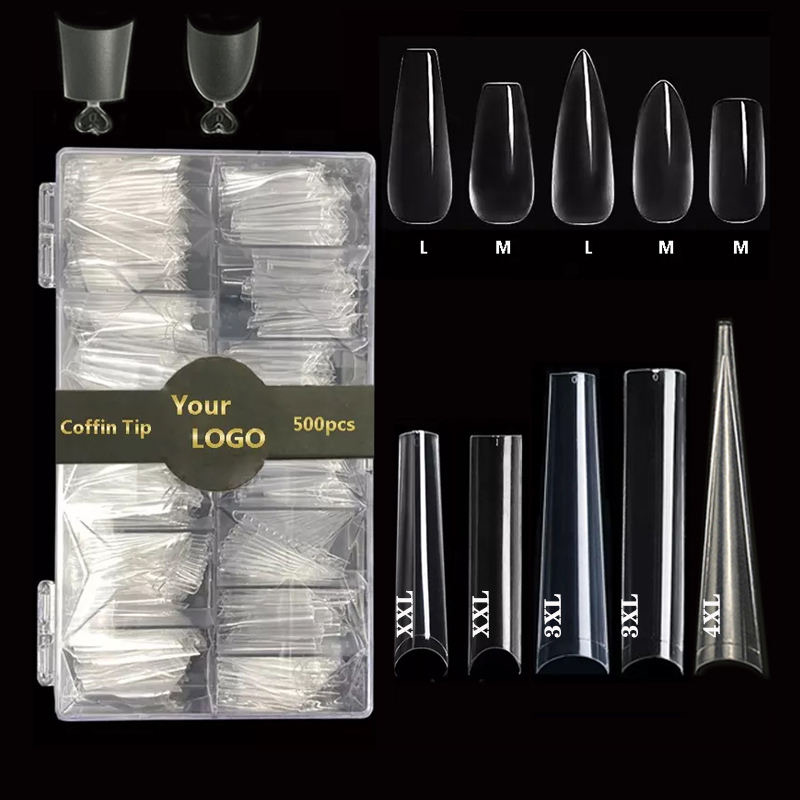
500 pcs/Box Non C-Curve XXL Extra-Long Coffin Nail Tips — Half Cover, ABS
A flatter-profile comparison route for brands testing a non-C-curve shape against their chart scope.
- Supplier
- Zhejiang Free Trade Zone Xuanji E-commerce Co., Ltd.
The first two are useful comparisons for a full-cover size-system project; the third is a comparison route for brands testing a flatter profile. Before buying, compare the supplier’s current table, materials, and pack breakdown against your chart scope. Prices and minimum order quantities are set by the supplier and were not confirmed for this guide.
Turn raw measurements into a customer chart
The published chart should be simple enough to use on a phone. A clear table usually needs only the label, inside width, and perhaps the centre length. Explain the unit once: all figures are millimetres measured at the widest inside point. Add the exact shape, length, and chart revision visibly above the table. If you offer standard size bundles, show the ten-number combination underneath, but retain a custom-size option for customers whose fingers do not match the preset.
Do not publish an unexplained “universal size 0–9 chart.” It invites buyers to compare it with a different brand and assume the numbers transfer. Instead, make your chart part of a product system: every product page should link to the chart that matches its shape and length; every sizing-kit listing should say which product families it represents; and every customer-service response should use the same chart name.
Use photographs where they reduce ambiguity. A top-down image of a labelled tip beside a scale can reassure a buyer that the values describe a real product. A side photo can explain the curve difference between two mould families without turning the product page into a technical manual.
Test the chart against people, not only calipers
Measurements give you a baseline; dry fitting tells you whether the baseline is useful. Test at least a small range of nails: an average hand, a relatively narrow nail set, and a wider or flatter thumb case if that is part of your intended market. Ask testers to note coverage, sidewall pressure, cuticle alignment, lifting, and whether the next larger or smaller label is a better choice.
This is where the chart becomes a product-development document. If several testers need a larger size only for the thumb, you may need an extended thumb option or a separate profile—not a new default chart for every finger. If a full-cover mould fits most widths but rocks on flat nails, record that as a mould limitation. Do not hide it behind “fits all nail shapes.”
Customer feedback becomes the second source of data after launch. Track the product chart revision, customer size selection, reported issue, replacement size, and outcome. Over time you can see whether a particular label is repeatedly selected as a replacement or whether a mould has a gap in the range. That information should influence your next sourcing conversation and your replenishment mix.
Keep purchasing, packaging, and replenishment tied to the chart
Once a mould passes sampling, include its chart code in the purchase order. The PO should identify the shape, material, coverage type, number range, pack breakdown, and approved revision. Keep the photos and measurement sheet with the order record. If the supplier sends “same as sample,” you have a reference for what that phrase must mean.
Packaging can either preserve or destroy the system. Inner bags, compartments, and labels must make it possible to trace a tip back to its chart. If you repackage bulk tips in branded boxes, conduct a pick-and-check step with a master set. A finished nail design is expensive to correct after a size 4 and size 7 have been mixed.
Replenishment data is equally valuable. Track which sizes are used in orders and which run out from your working stock. Complete boxes are convenient for first sampling, but they may be a poor long-term buying format if a few thumb or middle sizes are always depleted first. Before promising single-size refills, verify that the supplier can provide the exact approved mould and label consistently.
A chart is a living production record
A good press-on nail size chart does not promise that every person will fit one preset. It gives your brand a repeatable way to match a real customer measurement to a specific physical tip, then to repeat that decision when the customer returns. Keep separate charts for separate shapes and moulds, measure the inside contact area, record curve information, preserve a control kit, and make every reorder traceable to a revision. The result is not just a cleaner size guide. It is less rework, more useful customer data, and a product system that can scale beyond the first box of tips.