The short answer. If a press-on tip fits before decoration but feels too tight, rocks, or leaves a side gap after gel polish, do not immediately blame "shrinkage" or change every customer's size. Compare an unfinished tip with a matched tip finished using the exact process you plan to sell. Check width and sidewall coverage, then compare the curve and how rigidly the finished tip sits. This separates a real fit change from a different tip, a measurement error, excess product at the edge, or a test that was never representative of the final design.
Makers have described this problem in public nail communities: a blank tip seemed to fit, but the completed set did not. Some replies suggest curing shrinkage or increased curvature; those are hypotheses in a discussion, not a diagnosis for every gel, tip, lamp, or technique. A useful test starts with the finished sample and records what changed, rather than assuming a single cause.
First describe the mismatch, not its presumed cause
"It does not fit" can mean several different things. A tip can become too narrow across the nail, feel too curved to sit down, press at one sidewall, rock over the natural nail, or look as if it fits from above while its edges lift. Those symptoms point to different next checks. If the edges are uncomfortable or the tip rests on skin, stop the dry-fit test; do not force it into place to prove a point.
Before changing size, note the finger, tip family, size code, and where contact or a gap appears. Take one overhead photo and one side view under the same light. Keep the nail clean and dry and do not glue it on merely to test the fit. A quick sketch of the problem area is often more useful than writing "too small," especially when you later compare the sample with a supplier or another maker.
What can change between a blank tip and a finished nail
The blank and finished pieces are not necessarily equivalent test objects. Gel layers add material to the surface. Product that reaches the side edge or wraps around the underside can change how the tip meets a nail wall. A heavy bead near the cuticle can alter the point of contact. A glossy coating can also make an edge harder to see, so a visual impression is not automatically evidence that the plastic width changed.
A second possibility is a change in the tip's shape or stiffness during the finishing process. Makers online sometimes describe a tip as becoming more curved after curing. That may happen with a particular material and process, but a post cannot establish the cause for other products. A tip number is also not a universal size: a different supplier, shape, length, or mold may have a different width and curve even if the number printed on it is the same.
Finally, the fit test itself may have changed. A blank tip can flex when handled; a coated tip may feel firmer. Pressing down harder during one test, comparing different fingers, or sizing over an existing coating can produce different results. Treat each of these as a possibility to check, not as a fact about all press-on products.
Set up a fair before-and-after comparison
Start with two tips from the same supplier, shape, length, and size code. Keep one as the blank control. Finish the other with the intended product sequence, including the same base, color, art, top coat, lamp, and cure directions you expect to use for customer orders. Do not compare a blank from one mold with a decorated nail from another brand and call the difference a coating effect.
Photograph and label both tips before finishing. Record the product identifiers and the date. For the test piece, write down each coating step and follow the product maker's cure instructions. If a design uses a builder layer, charm, or raised art, include that actual construction. A thin painted sample cannot stand in for a raised design that places material at the sidewall or cuticle area.
After finishing and curing as directed, compare the two pieces side by side. Check the widest point with the same measurement method and same orientation. If you use a digital caliper, place it at a repeatable point and avoid squeezing a flexible tip. A caliper can help document width; it does not measure C-curve fit or tell you whether the sidewalls follow a person's nail. A curved measurement and a straight-across measurement are different quantities, so label which one you record.
Then check the dry fit again on the same nail or fitting surface used for the blank. Use the same position and pressure. Look from above and from the side. Ask: did the width reading change, did the curve change, did the surface build-up touch the nail wall, or did only the visual appearance change? If there is no consistent difference, repeat the comparison before rewriting your sizing chart.
Read the result before choosing a fix
Use the observation to choose the next action. Avoid a blanket rule such as "always size up" or "use fewer coats"; either may mask the wrong cause and create a new fit problem for another shape or finger.
If the finished piece measures narrower at the same marked point, first inspect whether product has wrapped around the edge or whether the tip profile visibly changed. Repeat the measurement on another matched sample. Do not file the sidewall until you know whether you are removing excess coating or changing the usable width of the tip.
If the width is similar but the center rocks or the side edges no longer follow the nail, focus on curvature and stiffness. Compare profiles from the side and end. A wider tip may cover the nail but still bridge across it; a smaller size may make the pressure worse. The appropriate fix may be a different tip family, not a new width number.
If the blank fits and the finished art touches the skin or presses at the cuticle, inspect where the material was placed. Move raised detail away from the contact edge or revise the design height. Do not change the customer's size chart to compensate for an ornament that sits beyond the nail's intended outline.
If only one or two sizes fail, do not assume the whole assortment has shifted. Recheck those sizes and the corresponding fingers, then test them separately. If results vary from one finished tip to another, improve process consistency or hold the affected design until the variation is understood.
If no dimension or contact point changes but the finished piece merely looks smaller, repeat the comparison under identical lighting and from the same angle. Gloss, color contrast, and a visible border can change perception. Record the visual issue separately from a measured fit failure.
Turn the test into a repeatable maker workflow
Once you have isolated a likely cause, test the adjustment on a new matched pair. Change one variable at a time: product amount, edge cleanup, brush placement, tip family, or size. If you change several things at once, you may get a better result without knowing what fixed it. Keep the blank control and the finished sample together until you approve the final method.
For a small brand, the approved sample should represent the exact customer-facing product. Record the supplier, product reference, shape, length, size code, finish version, and date. Add the finish system and any design element that can affect the edge or profile. Label the physical sample rather than relying on a photo in a chat. If the formula, tip mold, or design changes later, make a new comparison instead of assuming the earlier result still applies.
A practical release check can use the sizes that are most important to your assortment, including the sizes whose fit caused the original complaint. Compare a number of pieces appropriate to your order and risk, and write down what you actually checked. There is no universal sample count or acceptable difference that can be responsibly prescribed for every seller from a few online discussions. If you need formal lot acceptance, choose a quality plan appropriate to the order and market rather than inventing a pass percentage.
Retail and sourcing references
The two links below cover the measuring tool and one blank tip family mentioned above. Some links here are affiliate links, and we may earn a commission from qualifying purchases at no extra cost to the buyer. Neither item has been independently tested for this article, and listing details or minimum order quantities can change — confirm the current specifications, sample terms, and fit with the supplier before ordering.
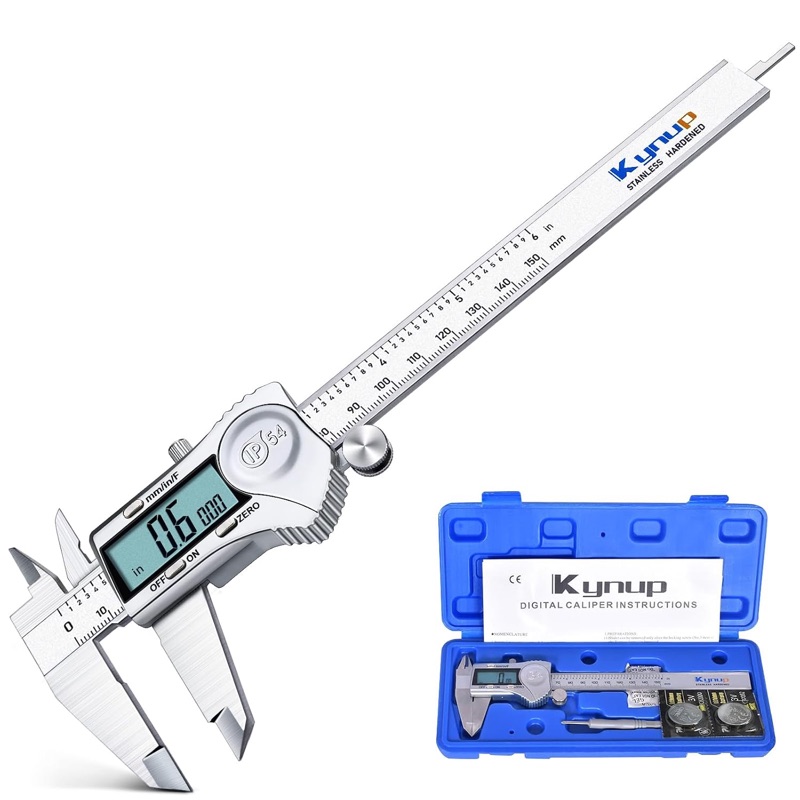
Digital caliper for tip width records
A basic digital caliper for recording a tip's width at one defined point, which is all this test needs from a measuring tool. It cannot tell you whether the C-curve matches a nail bed, so keep the same-finger dry comparison as the actual fit decision.
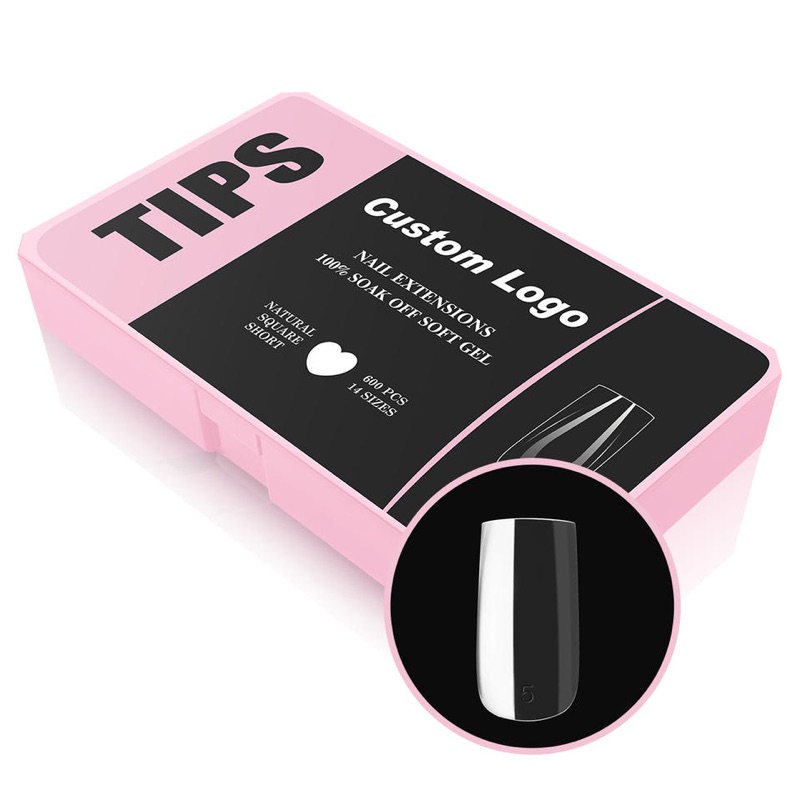
Clear full-cover soft gel nail tips, 602 pcs, 14 sizes
A clear full-cover tip assortment across 14 sizes, useful as the blank for a controlled finish test in one family. A sampling candidate rather than proof that its tips match another brand's size codes — verify the stated material and request a physical sample.
Card photos are the current marketplace listing images and may differ from the delivered product; confirm details on the live listing.
When to involve the supplier
Contact the supplier when the blank samples vary before you apply any finish, when pieces with the same code show visibly different profiles, or when your approved sample no longer matches a later shipment. Send the order reference, product or mold identifier, size code, photos with a scale or caliper in view, and a short description of the test. Ask the supplier to confirm whether the model, material, size sequence, or production reference changed. Do not ask only whether the product is "good quality"; that question gives no measurable answer.
For a new source, request blank tips from the exact family you intend to decorate and, if available, a finished sample made to your specification. Confirm what the sample represents and what is included in its price. A listing that shows a size range does not by itself confirm that the seller can supply separate sizes, a custom curve, or your chosen finish. Ask for the current MOQ, sample terms, lead time, and shipping terms in writing before treating the listing as an available solution.
Keep the first purchase small enough to let you check the delivered product before committing to a larger repeat order. Compare the received tips with the approved sample and written description. If they differ, hold the affected stock while you resolve the discrepancy. Do not promise customers that their original measurements will work across a changed tip family until you have checked it.
Use tools for the measurement they can actually make
A digital caliper is useful for recording the width of a tip at one defined point. It is not a fit gauge. It cannot tell you whether the curve matches a nail bed, whether a cuticle edge sits naturally, or whether a charm will press against the skin. If you use one, keep the jaws square to the measurement point, use light contact, and label the measurement as straight or curved. Repeat the same method across the blank and finished examples.
Keep the two numbers separate in your records. A width reading of a few tenths of a millimetre is not a fit conclusion on its own, and a curved measurement cannot be compared with a straight one. The same-finger dry comparison remains the decision point, while the caliper documents what changed between the blank and the finished tip.
A concise checklist before you sell the finished set
Before publishing a size chart or repeating an order, confirm these points:
- The blank and finished test tips belong to the same supplier family, shape, length, and size code.
- The finished sample uses the actual coating and art process planned for sale.
- You compared width at a defined point and checked curve and sidewall contact separately.
- The same test position, pressure, light, and measurement method were used before and after.
- Any size recommendation is based on the finished product, not a blank that only resembles it.
- The supplier reference and approved physical sample are labeled and stored together.
- The customer chart says which shape, length, and finish family the size numbers apply to.
If a finished tip still feels too tight after these checks, do not force it or quietly change every customer's size. Recheck the exact tip family and the area of contact, then test a specific adjustment against a new control. If the fit cannot be made predictable, choose a better-matched tip or revise the product before selling it.
The decision that prevents repeat fit complaints
A blank tip tells you how that blank fits. It does not certify the fit of every decorated version made from it. For each new finish that could alter edge build-up or the way a tip sits, compare a matched blank and finished sample, record what changed, and base the customer-facing size guidance on the finished product. That is more reliable than blaming gel shrinkage, moving every size up, or treating a printed number as a universal measurement.